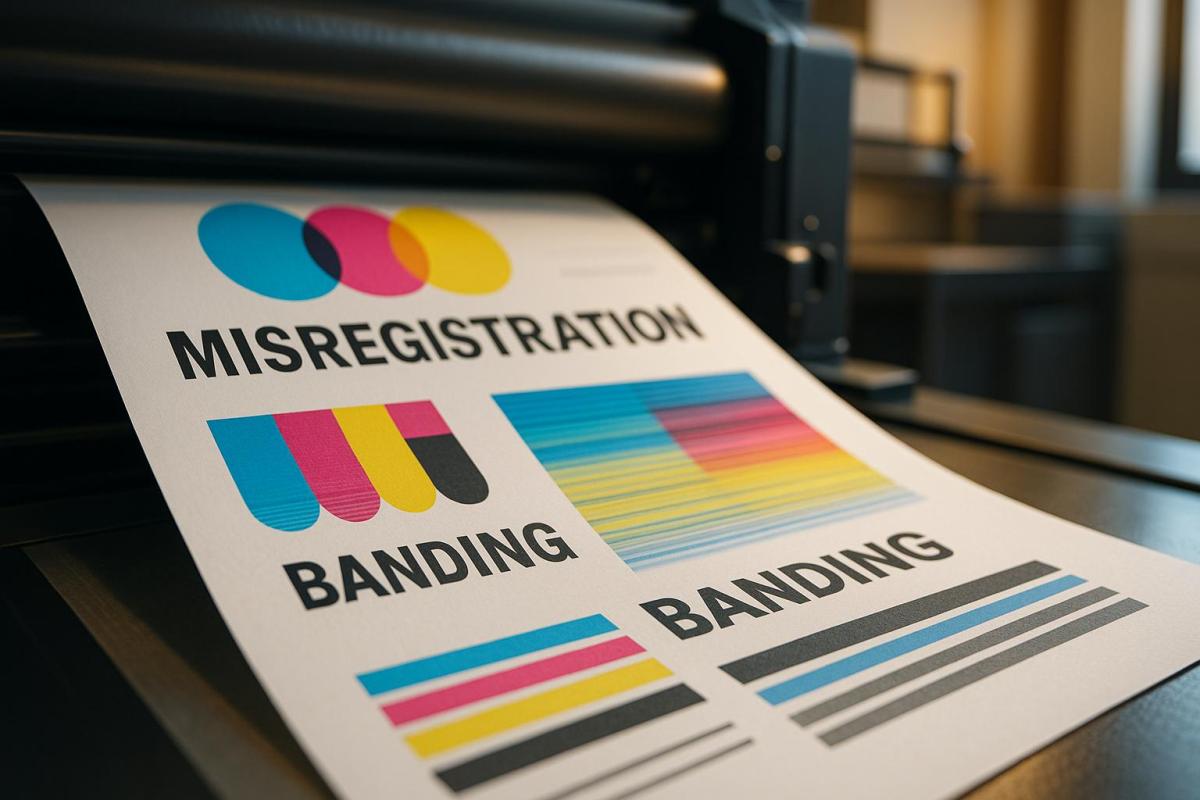
Misregistration and banding are two common issues in CMYK printing that can ruin print quality. Misregistration occurs when the cyan, magenta, yellow, and black color layers fail to align properly, leading to blurry images, fuzzy text, or overlapping colors. Banding, on the other hand, appears as horizontal or vertical streaks caused by uneven ink distribution or pressure issues.
Key Differences:
- Misregistration: Results in misaligned colors and blurred visuals; often caused by mechanical errors or environmental conditions.
- Banding: Creates streaks or lines, disrupting gradients; typically due to clogged nozzles, uneven ink flow, or file errors.
Both defects harm the professional appearance of printed materials and can lead to wasted resources. Fixing them involves regular printer maintenance, proper file preparation, and high-quality materials. Professional print services can help prevent and resolve these issues with advanced tools and expertise.
Troubleshooting Image Quality Problems on Konica Bizhub C754e Color Copiers #konicaminolta #color

What is Misregistration?
Misregistration happens when the cyan, magenta, yellow, and black layers in a print don’t align correctly. The result? Blurry images, overlapping colors, and fuzzy text that can ruin the professional look of both color and black-and-white prints. This issue is particularly problematic in high-precision printing methods like flexographic printing, where even tiny misalignments can lead to noticeable distortions and blurred visuals.
What Causes Misregistration
Several factors can lead to misregistration, and they often work together to create the problem. Common culprits include:
- Mechanical issues: Vibrations, dirty print heads, and uneven surfaces can disrupt alignment.
- Environmental conditions: Changes in humidity and temperature can affect the printing process.
- Paper quality: Poor-quality paper or improper loading can throw off alignment.
- Operator errors: Incorrect settings or improper handling during setup can also contribute.
On the technical side, issues like incorrectly positioned sensors or uneven tension levels can prevent the image carrier from making proper contact with the substrate, further worsening the problem.
How to Spot and Fix Misregistration
Once you understand what misregistration is and what causes it, the next step is to identify and fix it. Look for these signs:
- Blurry or doubled images
- Gaps or overlaps in colors
- Shadows or unintended outlines around printed elements
A quick way to check alignment is by examining registration marks. When properly aligned, these marks appear sharp and clear. Misregistration, however, creates additional color shadows around them.
Here’s how you can address misregistration effectively:
- Enable unidirectional printing: Adjust your printer settings so the print head moves in just one direction. This can help improve color alignment.
- Perform regular maintenance: Run printhead alignment and cleaning functions to prevent clogs. Ensure ink cartridges are installed correctly, and keep your printer’s firmware updated.
- Optimize your design: Use 100% black (K) for body text and small details, flatten effects, and convert text to outlines before exporting. Avoid using thin colored lines or hairline borders; instead, maintain a minimum line weight of 0.25 points.
For instance, Veesham Printing Press tackled a client’s misregistration issue by tweaking their invitation file. The thin gold border was thickened, and rich black text was converted to 100% K. The result? A crisp, clean print without any registration problems.
To prevent misregistration in the first place, follow these tips:
- Use high-quality printing paper.
- Keep your printer clean and free of dust.
- Ensure proper calibration of color settings and profiles.
What is Banding?
Banding is a common issue in inkjet printing. Unlike misregistration, which impacts color alignment, banding disrupts the even flow of colors and tones across printed materials. As Jason Darrah from Prisco explains:
"Banding is a defect in inkjet printing that will appear as horizontal or vertical lines, streaks or bands in the printed output."
This makes it important to understand and address banding to maintain high-quality prints – whether you’re producing business cards, brochures, or large format displays.
Banding Defined
Banding refers to uneven color distribution on printed materials, creating visible interruptions that disrupt smooth color transitions. It’s especially noticeable in areas like gradients, solid colors, and photographs, where smooth tonal shifts are critical.
There are several types of banding, each with unique characteristics:
- Distance banding: Uniform light or dark horizontal lines caused by improper media advancement.
- Skew banding: Similar lines appearing on just one side due to uneven media movement.
- Blocked nozzle banding: Light horizontal lines caused by completely clogged printhead nozzles.
- Deflected nozzle banding: Streaks resulting from ink being jetted at incorrect angles due to partial blockages.
More complex forms include chromatic banding, which shows alternating color bands during bidirectional printing, and gloss banding, where light reflects unevenly. Vertical banding appears as darker vertical lines when ink drops are inconsistent in size or placement, while gradient banding affects large gradients due to limitations in halftone levels.
What Causes Banding?
Banding can result from various factors, often working together to create visible defects. The most common causes include:
- Printhead issues: Clogged or deflected nozzles, misaligned printheads, or inconsistent media advancement can disrupt the flow of ink.
- Ink supply problems: Uneven ink distribution, incorrect viscosity, or delivery system issues can lead to color density variations.
- Environmental factors: Temperature and humidity fluctuations can affect ink flow, contributing to banding.
File preparation and software errors also play a significant role. Graphic designer Ali Raza Shah highlights:
"The main cause of color banding is excessive editing of images using editing software. Too much saturation, saturation, dehazing, etc — such software is the Lightroom can push the color boundaries beyond what is mathematically possible."
Color mode mismatches are another culprit. Motion designer Shubham Kale explains:
"Addressing color banding in print requires selecting the appropriate color mode to align with your printer. The disparity between RGB (suited for digital displays) and CMYK (ideal for printing) color modes can lead to inaccuracies."
Additionally, insufficient bit depth in images can cause banding. Abdullah Nisar emphasizes:
"Increasing bit depth is crucial for achieving smooth gradients and avoiding color banding, which is particularly important for high-quality prints or digital artwork intended for professional use."
Even printer heater issues can contribute to banding. Understanding these causes is key to diagnosing and resolving the problem.
How to Spot and Fix Banding
Spotting banding is usually straightforward. Look for horizontal or vertical lines, uneven gradients, streaks in solid color areas, or alternating light and dark bands. These defects are most noticeable in large solid areas, gradients, and photos.
To fix banding, start by identifying its type, as each requires a specific approach:
- Printhead-related banding: Run nozzle checks and clean the printheads to ensure they’re functioning properly.
- File preparation fixes: Convert images to CMYK before printing to match the printer’s color mode, use high bit depth images (16-bit or higher), and ensure images are high resolution (at least 300 dpi).
- Gradient banding: Apply mild noise or dithering in Photoshop or Illustrator to smooth transitions.
For hardware-related banding, check the printer’s mechanics. Ensure the paper advances correctly and that the printheads overlap properly. Verify that the printer’s heater is working consistently, as temperature fluctuations can cause banding.
Regular calibration and testing are essential for long-term prevention. Perform test prints frequently, calibrate your printer to match the color profiles of your paper, and use proper bleed and crop marks to avoid edge banding.
To minimize future banding issues, maintain your equipment. Clean printheads and perform calibration checks regularly. Additionally, use high-resolution images in CMYK mode and ensure fonts are embedded or outlined to avoid unexpected issues during printing.
sbb-itb-ce53437
Misregistration vs. Banding: Main Differences
Misregistration and banding are two common issues that can seriously impact print quality, but they stem from entirely different problems and show up in unique ways. Knowing how to tell them apart is essential for diagnosing and fixing these issues effectively.
Misregistration happens when colors or design elements in a print don’t align properly, leading to blurred images or overlapping hues. This issue often points to mechanical problems, like poorly mounted plates or worn-out gears, and is most frequently seen in flexographic printing. On the other hand, banding refers to streaks or lines caused by inconsistent ink density or pressure. It’s typically linked to problems like clogged inkjet nozzles or media advancement errors, making it more common in inkjet printing systems.
The way these problems appear also differs. Misregistration shows up as misaligned colors or visible slivers of unprinted paper, while banding creates streaks that disrupt smooth gradients. These visual clues make it easier to pinpoint the issue and find the right solution.
To address misregistration, focus on mechanical precision – properly mount plates and check for worn components. For banding, technical adjustments like adding noise to gradients or re-rasterizing problem areas can help. The table below breaks down the key differences between these two issues.
Comparison Table
| Attribute | Misregistration | Banding |
|---|---|---|
| Definition | Misaligned ink colors or design elements | Inconsistent ink density or pressure |
| Appearance | Blurred images, halo effects, paper slivers | Horizontal or vertical streaks |
| Primary Cause | Faulty registration during printing | Ink density or pressure inconsistencies |
| Most Common in | Flexographic printing | Inkjet printing systems |
| Impact on Quality | Reduces sharpness and clarity | Creates distracting streaks |
| Quick Fix | Reinstall toner cartridges, calibrate settings | Add noise, re-rasterize gradients |
Professional Print Services for Quality Control
Professional print shops play a vital role in preventing and addressing issues like misregistration and banding. With their specialized equipment and expertise, these facilities can detect problems early and implement precise solutions, ensuring high-quality results for final printed products.
How Print Shops Handle Defects
Professional printing facilities rely on a comprehensive approach to handle misregistration and banding. Regular maintenance, calibration, and quality checks are key to their process. This includes tasks like cleaning rollers and plates and comparing printed materials to their original designs to ensure accuracy in color, text, layout, and overall design integrity.
When it comes to banding, print shops take extra measures. They monitor and adjust ink density levels during the print run and maintain consistent pressure on the press to ensure even ink distribution. These adjustments require advanced tools and expertise that most businesses simply don’t have in-house.
But professional print shops don’t stop at fixing problems – they actively troubleshoot other commercial printing issues, such as color inconsistencies, blurry images, or paper quality concerns. This proactive approach not only ensures top-tier results but also helps avoid costly reprints.
To achieve such precision, print service providers often employ advanced, tailored solutions designed to maintain the integrity of every project.
Miro Printing & Graphics Inc. Services
Miro Printing & Graphics Inc., based in Hackensack, NJ, exemplifies these high standards of quality control. Their services eliminate misregistration and banding by leveraging advanced digital printing, offset printing, and large-format printing technologies. These professional-grade tools ensure consistent quality throughout production.
Their offset printing services are particularly effective for tackling misregistration. This method allows for precise color alignment and even ink application, making it ideal for high-volume projects where color accuracy is essential. Similarly, their digital printing services are designed to minimize banding, ensuring smooth, professional results.
Miro Printing & Graphics Inc. also excels in creating customized projects tailored to meet specific quality standards. Their team understands how different printing methods can impact defect prevention and works closely with clients to recommend the best approach for each unique project.
In addition to printing, their in-house bindery services – such as booklet making, collating, cutting, and binding – are carried out with the same meticulous attention to quality. This ensures that the final product upholds the high standards set during the printing process.
Their computer layout and design services further enhance quality by addressing potential issues before printing even begins. By optimizing color saturation levels and ensuring proper file alignment, they reduce the risk of misregistration and other defects at the source.
To round out their offerings, Miro Printing & Graphics Inc. provides mailing and fulfillment services, managing projects from start to finish. This end-to-end approach ensures consistent quality control throughout every stage of production, minimizing the chances of defects impacting the final product.
Conclusion
Grasping the impact of misregistration and banding is essential when it comes to CMYK printing. These issues can undermine the quality of your prints and tarnish your brand’s reputation. Whether it’s misaligned colors or visible streaks, such flaws can make your materials look unprofessional and harm the perception of your business.
With nearly 30% of print jobs failing due to inconsistent quality, addressing these problems quickly is key. Ignoring them can lead to wasted resources, project delays, and strained client relationships. It’s clear that poor print quality isn’t just a technical issue – it can ripple out to affect your bottom line.
Professional printing services offer a solution. Through advanced quality control practices like prepress inspections, precise color management, and controlled production environments, they ensure consistent, high-quality results. These are processes that are often difficult for individual businesses to replicate on their own.
By working with expert print providers, businesses can not only cut costs through improved efficiency but also build trust with clients by delivering polished, reliable materials. For companies in New Jersey, services like Miro Printing & Graphics Inc. bring state-of-the-art technology and expertise to the table. From optimizing designs in the prepress stage to conducting rigorous final inspections, they help businesses eliminate defects and turn potential setbacks into opportunities.
To truly prevent misregistration and banding, you need more than just knowledge – you need the meticulous quality control that professional printing services provide.
FAQs
What’s the difference between misregistration and banding in CMYK printing, and how can I prevent them at home?
Misregistration and banding are two issues that can significantly impact the quality of CMYK prints. Let’s break down what they are and how to address them.
Misregistration happens when the color layers in a print don’t align as they should, resulting in blurry or offset images. To avoid this, start by calibrating your printer settings accurately. Double-check that the paper is correctly aligned in the tray, and opt for high-quality paper and ink. Routine printer maintenance, like cleaning and alignment checks, can also go a long way in preventing this problem.
Banding shows up as unwanted lines or streaks across your prints. This issue often stems from clogged printheads, using the wrong type of paper, or incorrect print settings. To reduce banding, regularly clean the printheads, choose paper that’s compatible with your printer, and adjust the print settings to match the media you’re using. Printing frequently can also help by keeping the ink from drying out and clogging the nozzles.
By staying on top of these simple maintenance tasks, you can ensure your prints come out sharp and streak-free every time.
What regular maintenance can help prevent CMYK print defects like misregistration and banding?
To steer clear of common CMYK print issues like misregistration and banding, keeping your printing equipment in top shape is key. Regularly clean and inspect your machinery to clear out dust or debris that might disrupt alignment. Proper calibration is also a must to ensure precise registration and consistent color output.
Another essential step is monitoring and adjusting ink density during the print run, as uneven ink application can result in noticeable banding. On the digital side, always conduct pre-flight checks on your files to catch any potential errors before they reach the printer. These straightforward practices can make a big difference in delivering smooth, high-quality prints every time.
How do professional print services prevent and fix common defects like misregistration and banding?
Professional print services bring both expertise and top-notch tools to tackle issues like misregistration and banding. Their advanced printing equipment is designed for precise alignment and consistent color output, ensuring every detail is spot on. Behind the scenes, skilled technicians fine-tune the machines and keep a close eye on the process to guarantee excellent results.
On top of that, these print shops follow strict quality control protocols and stick to regular maintenance schedules. This approach not only reduces the chances of defects but also allows them to quickly address any hiccups that might come up. The result? Smooth, accurate, and visually stunning prints every single time.
Related posts
- 5 Common ICC Profile Issues and Fixes
- Common Post-Press Quality Issues and Fixes
- Common Substrate Defects in Printing
- 5 Causes of Registration Errors in Printing
https://app.seobotai.com/banner/banner.js?id=6874a0f26002c02a8239670e
