Printing on heavy cardstock digitally requires careful preparation, the right printer settings, and proper handling to achieve professional results. Here’s a quick guide:
- Cardstock Basics: Heavy cardstock starts at 80 lb cover weight, with 100–130 lb cover being ideal for most projects. It’s thicker, sturdier, and commonly used for business cards, invitations, and marketing materials.
- Design Setup: Use 300 DPI resolution, CMYK color mode, and include a 0.125-inch bleed for edge-to-edge designs. Save files as press-quality PDFs with embedded fonts.
- Printer Settings: Ensure your printer supports heavy cardstock and use settings like "Cardstock" or "Heavy Paper." Load fewer sheets, use manual feed if available, and reduce print speed for better results.
- Finishing Touches: Score folds to prevent cracking, use sharp tools for clean cuts, and consider lamination for added durability. Allow ink to dry fully before handling.
- Storage Tips: Store prints flat in a cool, dry place to avoid warping or curling.
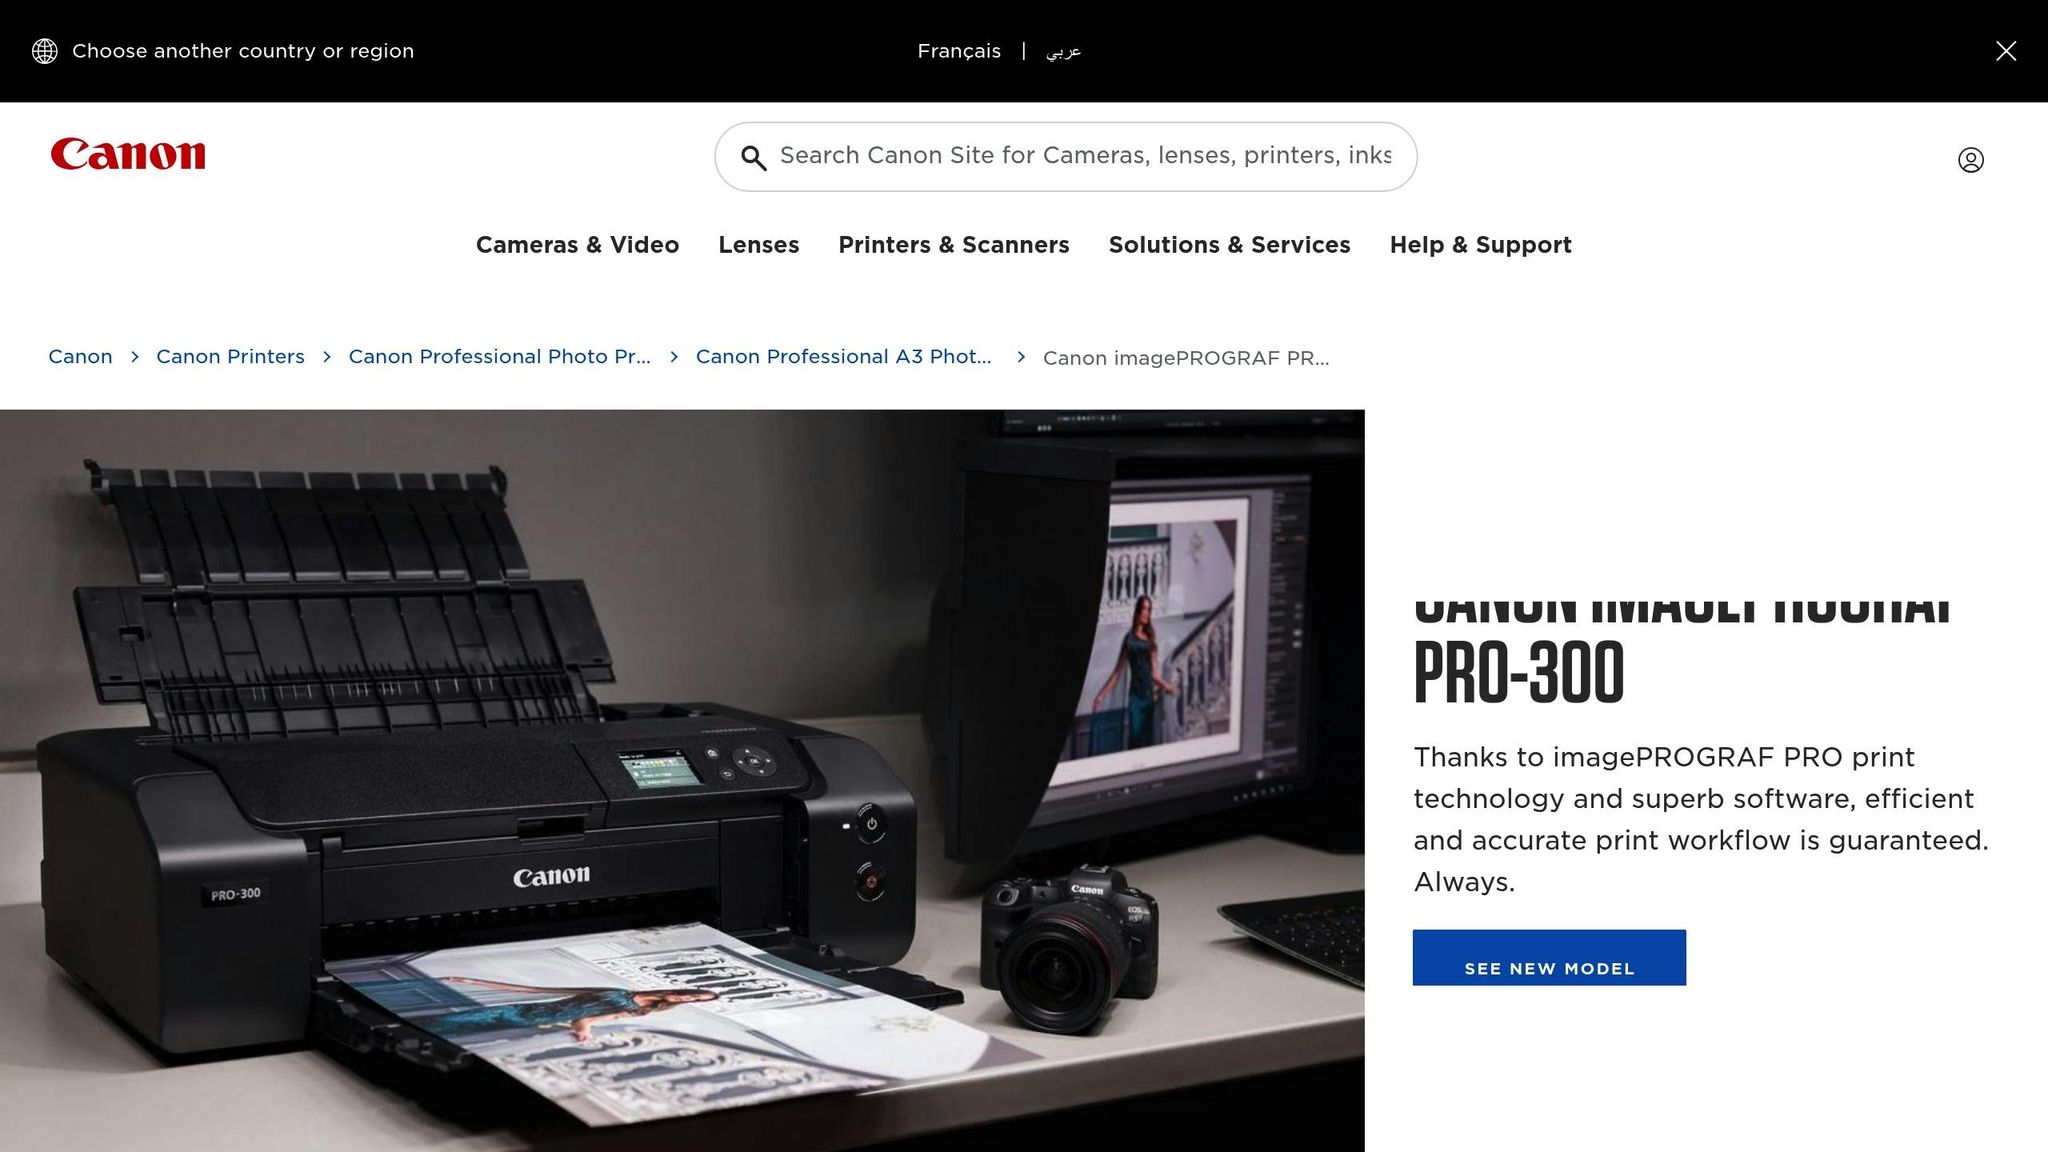
Digital Scrapbook Printing with Canon ImagePROGRAF PRO-300 – DIFFERENT CARD-STOCK TESTING REVIEW
Preparing for Digital Printing on Heavy Cardstock
Getting your files, materials, and design elements ready ahead of time can save you a lot of headaches and ensure your heavy cardstock prints come out looking polished and professional. Let’s break down the key steps to make the process as smooth as possible.
Setting Up Your Design Files
To get crisp, sharp prints on heavy cardstock, start by setting up your design files with the right specifications. Always use a resolution of 300 DPI – this ensures that both text and images are clear and detailed.
Switch your color mode to CMYK instead of RGB. Why? Digital printers rely on cyan, magenta, yellow, and black inks, and designing in CMYK avoids unexpected color shifts during printing. While your monitor might show colors differently, designing in CMYK ensures your print colors are accurate.
If your design extends to the edges of the cardstock, adding a bleed is non-negotiable. Include a 0.125-inch bleed on all sides and keep key elements at least 0.125 inches away from the trim line. For example, if you’re designing a business card, set the file size to 3.75" × 2.25" instead of the finished size of 3.5" × 2".
When exporting, save your file as a PDF with embedded fonts using press-quality settings. This step ensures your text prints exactly as designed, avoiding any font substitution issues.
Once your design file is ready, it’s time to choose the right cardstock for the job.
Selecting the Right Cardstock
The type of cardstock you pick can make or break your final print. For most heavy cardstock projects, a weight between 100–130 lb cover is ideal – it offers a balance of durability and compatibility with digital printers.
- Matte finishes are great for readability, as they absorb ink well and reduce glare. They’re a solid choice for business cards, invitations, or marketing materials.
- Glossy finishes enhance color saturation, making them perfect for photo-heavy designs. However, they can show fingerprints more easily.
- Uncoated cardstock gives a softer, more natural look, which works beautifully for elegant invitations or understated business cards.
- Coated cardstock keeps ink on the surface, resulting in sharper text and vibrant colors. It’s a go-to for brochures and other marketing pieces.
Don’t forget about the grain direction of the cardstock, especially if your project involves folding. Folding along the grain prevents cracks along the fold lines, so ask your supplier for grain direction details and adjust your layout accordingly.
Finally, consider the cardstock’s brightness level. A brightness range of 92–96 provides excellent contrast for text while maintaining natural color tones. Higher brightness levels tend to make colors appear cooler, while lower levels create warmer, softer tones.
With your cardstock selected, fine-tune your design to take full advantage of this sturdy material.
Design Tips for Heavy Cardstock
Designing for heavy cardstock requires a few tweaks to make the most of its unique qualities. Avoid large solid areas of color – these can highlight ink inconsistencies. Instead, use gradients, textures, or patterns to create a more polished look.
For folded designs, include scoring lines to prevent cracking. Mark the scoring locations in your file and communicate these details to your printer. Common scoring spots include the center of greeting cards, fold lines on brochures, or pocket lines on presentation folders.
When it comes to text, keep it readable. Use at least an 8-point font for body text and a 10-point font for contact information on business cards.
If you’re planning to incorporate special effects like foil stamping, embossing, or die-cutting, allocate enough space around these elements. Metallic inks and foils stand out beautifully on heavy cardstock, but they need room to shine without crowding other design elements.
Be mindful of ink coverage limits. Heavy cardstock is durable, but excessive ink coverage – anything over 280% – can cause drying issues or bleed-through. Use your design software to check ink coverage levels before finalizing your file.
Lastly, print small samples to test your color choices. Colors can appear slightly different on heavy cardstock compared to standard paper, so it’s worth checking how they’ll look before committing to a full print run. Some colors that pop on screen might not translate as well on your chosen cardstock.
Digital Printing Process for Heavy Cardstock
Once your files are prepped and you’ve chosen your cardstock, it’s time to start printing. Printing on heavy cardstock requires careful attention to printer compatibility, settings, and some trial runs to avoid wasting materials.
Checking Printer Compatibility
Before loading your cardstock, confirm that your printer is equipped to handle its weight and thickness. Consult your printer’s manual to find the maximum paper weight it supports. For best results, opt for a printer with a straight-through paper path, which reduces the chances of jams. Keep in mind that thicker cardstock takes up more space in the tray, so you might need to load fewer sheets at a time to ensure smooth feeding. Once you’ve confirmed compatibility, you can move on to fine-tuning your printer’s settings.
Adjusting Printer Settings
Getting your printer settings right is crucial for a smooth printing process. Start by selecting the appropriate paper type in your printer’s settings – look for options like "Cardstock" or "Heavy Paper" instead of "Plain Paper." These settings help the printer adjust to the unique feeding requirements of thicker paper. If your printer has a manual feed or bypass tray, use it for a straighter paper path and better control over each sheet. Load a few sheets at a time and adjust the guides to prevent buckling or misalignment. If possible, reduce the print speed to allow the cardstock more time to pass through the printer.
Running Test Prints
After adjusting the settings, run test prints to ensure everything looks right. This step is essential to catch potential issues early. As The Paper Mill Blog suggests, "Always do a test run so you can see how well certain weight will print in your specific machine". Similarly, SignBliss advises, "Print an initial test page to verify the accuracy of color and alignment prior to making a commitment to a complete batch".
Start by printing a single sheet on your chosen cardstock. Watch for any signs of jamming, misalignment, or curling during the feed. Inspect the print quality for streaks, smudges, or other defects that might require further adjustments.
It’s also helpful to experiment with grain direction. Try printing with the grain running lengthwise and then widthwise to see which orientation feeds more smoothly and delivers better results. Review your test prints under good lighting to spot any color inconsistencies or registration errors. If you notice any issues, tweak your printer settings and run additional tests until you’re satisfied with the outcome. Only then should you proceed with your full print run.
sbb-itb-ce53437
Finishing and Handling Heavy Cardstock Prints
Turning heavy cardstock prints into polished, professional pieces requires the right finishing touches and careful handling. While the thickness and sturdiness of heavy cardstock offer plenty of creative opportunities, they also demand extra attention to maintain quality.
Finishing Techniques
Heavy cardstock allows for a variety of finishing techniques that can elevate both its look and functionality. Cutting is usually the first step, and achieving clean, precise edges is key to a polished result. For this, use a sharp cutter and a metal ruler on a self-healing mat to ensure accuracy and avoid rough edges.
Scoring is essential when folding heavy cardstock. Without it, the thickness can lead to cracking along the fold. Use a bone folder and ruler to compress the fibers along the fold line without cutting through the material. This technique ensures smooth, crack-free folds.
For more intricate projects, like tri-fold brochures or custom folders, die-cutting is the go-to method. Die-cutting uses custom steel dies to cut, score, and perforate in one seamless operation. This process is perfect for achieving consistent results across large batches and for creating complex shapes that would be nearly impossible to replicate by hand.
Lamination adds durability and a professional finish. For standard needs, a 3-mil laminate works well, while a thicker 5–7 mil laminate is ideal for items that will experience heavy handling.
These finishing steps set the stage for proper handling and storage, ensuring your prints maintain their quality and appearance.
Handling and Storage Tips
After printing and finishing, the way you handle and store your heavy cardstock prints is crucial to preserving their integrity. Right after printing, the ink may take longer to fully cure on thick paper, leaving it prone to smudging. Allow the prints to air dry completely before stacking or handling them extensively. When you do handle them, hold the edges to avoid leaving fingerprints on the surface.
Storage conditions play a big role in maintaining print quality. Store your prints flat in a cool, dry environment, away from direct sunlight. Fluctuating humidity can cause the cardstock to warp or curl, so aim for consistent environmental conditions. If you need to store prints vertically, use dividers to prevent scratching and ensure they’re fully supported to avoid bending.
For transportation, use protective sleeves or sturdy boxes to shield the prints from damage. While heavy cardstock is more resistant to bending than regular paper, it’s still vulnerable to dents or creases from impacts. For especially valuable or time-sensitive projects, rigid mailers or portfolio cases offer the best protection during shipping or delivery.
Temperature changes can also affect heavy cardstock, causing it to expand or contract, which may lead to curling or warping. If your prints have been stored in a different environment, let them adjust to room temperature before handling or displaying them. This step is particularly important for prints that will be mounted, framed, or used in larger displays where stability is key.
Getting Professional Results with Heavy Cardstock
Printing on heavy cardstock can achieve results that rival traditional offset printing, provided the process is handled with precision. When done right, digital printing on thick materials offers both high-quality output and the added benefits of speed and flexibility.
Key Takeaways
Achieving success with heavy cardstock printing depends on three main factors: proper preparation, accurate printer settings, and careful finishing. It all starts with your design files – these need to be set up correctly with high resolution and the right color profiles. Mistakes at this stage can’t be fixed later, especially on thick materials.
Printer compatibility is another critical piece of the puzzle. Not all digital printers are equipped to handle cardstock heavier than 14 pt. Testing your printer with the chosen cardstock weight is essential. You’ll likely need to adjust settings like the paper path, speed, and fuser temperature to ensure smooth operation.
The finishing process is where cardstock can truly stand out. Proper scoring is essential to avoid cracking when folding, and clean cutting ensures sharp, polished edges. Adding lamination – using a 3-mil or thicker film – can protect the cardstock while maintaining its premium look and feel. Keep in mind that ink takes longer to cure on heavy cardstock, so you’ll need to allow extra drying time before moving on to finishing or handling.
It’s also important to maintain stable temperature and humidity levels during printing and storage to prevent warping or other issues.
How Miro Printing & Graphics Inc. Can Help
For those looking to achieve professional results without the trial and error, Miro Printing & Graphics Inc. in Hackensack, NJ, offers the expertise and tools needed to handle heavy cardstock projects with precision. Their digital printing capabilities are specifically designed to manage heavier cardstock weights, removing the guesswork from printer settings and material compatibility.
Miro’s in-house bindery services provide a full range of finishing options tailored to heavy cardstock. From precision cutting and scoring to custom die-cutting for intricate designs, their services ensure your prints look polished and professional. Their expertise in folding, creasing, and micro-perforation makes them a go-to for projects like presentation folders, brochures, and custom packaging where accuracy is critical.
What makes Miro Printing & Graphics Inc. stand out is their end-to-end approach to heavy cardstock printing. They offer computer layout and design services to optimize your files specifically for thick materials, and their large-format printing capabilities can handle oversized projects, which many other shops might struggle with. Whether you’re looking to print business cards on 16 pt cardstock, custom die-cut presentation folders, or large posters on heavyweight material, Miro has the equipment and know-how to deliver consistent, polished results.
For businesses or individuals who want the durability and quality of heavy cardstock without navigating the complexities of the process, Miro manages everything – from file preparation to finishing and delivery. This ensures that every project meets professional standards, every time.
FAQs
What’s the difference between matte and glossy finishes on heavy cardstock, and how do they impact print quality?
Matte finishes on heavy cardstock offer a smooth, non-reflective surface that reduces glare, making text and details easier to read. This finish works well for professional designs where clarity and a subtle touch are important – think business cards or invitations.
Glossy finishes, in contrast, provide a shiny, reflective surface that boosts color intensity and sharpness. This makes them a great choice for projects that rely on bold, attention-grabbing visuals, such as promotional materials or photo prints.
When deciding between matte and glossy, consider the goal of your project: choose matte for a refined, understated appearance and glossy for vibrant, striking visuals.
How can I make sure my printer works with heavy cardstock and avoid issues like jams or misalignment?
To make sure your printer can handle heavy cardstock without issues, start by checking its specifications for the maximum paper weight it supports. Many printers can work with cardstock up to 275 gsm, but some models are built to handle weights as high as 350 gsm. The exact details can be found in your printer’s manual.
For optimal results, use the manual feed slot if your printer has one, as it’s specifically designed for thicker paper. Be sure to adjust the paper guides in the tray so the cardstock fits snugly, and keep the feed rollers clean. Dust buildup on rollers can lead to jams or misfeeds, so regular maintenance is key.
By following these steps, you can enjoy smooth, hassle-free printing on heavy cardstock. If you require professional assistance for thicker materials, Miro Printing & Graphics Inc. in Hackensack, NJ, provides expert digital printing services on a wide range of media.
What’s the best way to store and protect heavy cardstock prints to keep them in great condition?
To keep heavy cardstock prints in excellent condition, it’s important to store them in a climate-controlled space. Aim for a stable temperature of about 75°F and a relative humidity level of 50%. This setup helps protect the prints from warping, fading, or other forms of damage over time.
For added protection, use acid-free materials like foam boards, folders, or storage boxes. These materials prevent harmful chemical reactions that could degrade the prints. Always store them flat and away from direct light, as extended exposure can lead to fading or discoloration. With proper care, your prints will remain vibrant and well-preserved for years.
Related posts
- How to Choose the Right Paper for Custom Prints
- 5 Tips to Prevent Cracking on Folded Prints
- How to Prepare Files for Die-Cutting and Laser Cutting
- How to Choose Recycled Cardstock for Printing
https://app.seobotai.com/banner/banner.js?id=68a7da27deeb0fcef4e0832b
