Want sharp, professional large format prints? Start by getting the DPI right. DPI (dots per inch) determines print clarity, and the right setting depends on viewing distance and print type. Here’s what you need to know:
- Close Viewing (e.g., trade show displays): Use 150–300 DPI for crisp detail.
- Moderate Viewing (e.g., indoor graphics): 100–150 DPI works well.
- Distant Viewing (e.g., billboards): 20–100 DPI is sufficient for clear visuals.
Quick Tips:
- File Prep: Use TIFF or PDF for high-quality results. Convert images to CMYK to match print colors.
- Software Settings: Adjust DPI in Photoshop (Image > Image Size) or Illustrator (Effects > Document Raster Effects Settings).
- Printer Settings: Check your printer’s resolution options for optimal output.
Balancing DPI ensures sharp prints without bloated file sizes. Need professional results? Test your settings on smaller prints before scaling up.
Viewing Distance and Resolution for Large Format Graphics
DPI Requirements for Large Format Printing
When it comes to large format printing, the ideal DPI (dots per inch) setting depends on the type of print and how far away it will be viewed. Unlike standard desktop printing – where 300 DPI is the norm – large format prints can maintain great visual quality even at lower resolutions, especially when viewed from a distance.
DPI Guidelines by Print Type
Different types of large format prints require specific DPI settings based on their purpose and viewing conditions:
- Trade Show Displays and Retail Signage: For prints viewed up close, a resolution of 150–200 DPI typically ensures sharpness and clarity.
- Outdoor Banners and Street-Level Signage: These are usually seen from several feet away, so a resolution of 100–120 DPI is enough to provide clear visuals while keeping file sizes manageable.
- Architectural Drawings and Technical Displays: High detail is crucial for these, so a resolution of about 300 DPI is often necessary to capture fine lines and measurements.
- Indoor Graphics (like Lobby Displays and Wall Graphics): For moderate viewing distances, 150–200 DPI works well.
- Billboards: Because these are viewed from 50 feet or more away, resolutions as low as 20 DPI are sufficient without any noticeable loss in quality.
Here’s a quick reference table:
| Print Type | Recommended DPI | Viewing Distance |
|---|---|---|
| Trade Show Displays | 150–200 | Close |
| Outdoor Banners | 100–120 | Distant |
| Architectural Drawings | 300 | Close |
| Indoor Graphics | 150–200 | Close |
Understanding these DPI ranges helps ensure your print looks great while balancing file size and production efficiency.
How Viewing Distance Affects DPI Needs
The further away a print is viewed, the lower the resolution it needs to appear sharp. As ArtisanHD explains:
"The further away your print is, the lower its resolution can and should be."
For example, at 300 DPI, the recommended minimum viewing distance is about 11.46 inches. Lowering the resolution to 180 DPI increases the ideal viewing distance to roughly 19.1 inches.
Here are some general guidelines based on viewing distance:
- Close Viewing (under 6 feet): Use 200–300 DPI for crisp detail.
- Moderate Viewing (6 to 12 feet): A resolution of 100–150 DPI works well.
- Distant Viewing (over 12 feet): Even 100 DPI or less can deliver good results.
For instance, a 20×30 inch print viewed from 54 to 72 inches only needs a resolution of about 64 DPI, which equates to a 2.5-megapixel image.
How to Adjust DPI for Large Format Prints
When preparing large format prints, understanding and adjusting DPI settings is key to achieving clear and sharp results. While the steps may differ depending on the tools you use, the basic principles remain consistent.
Setting DPI in Design Software
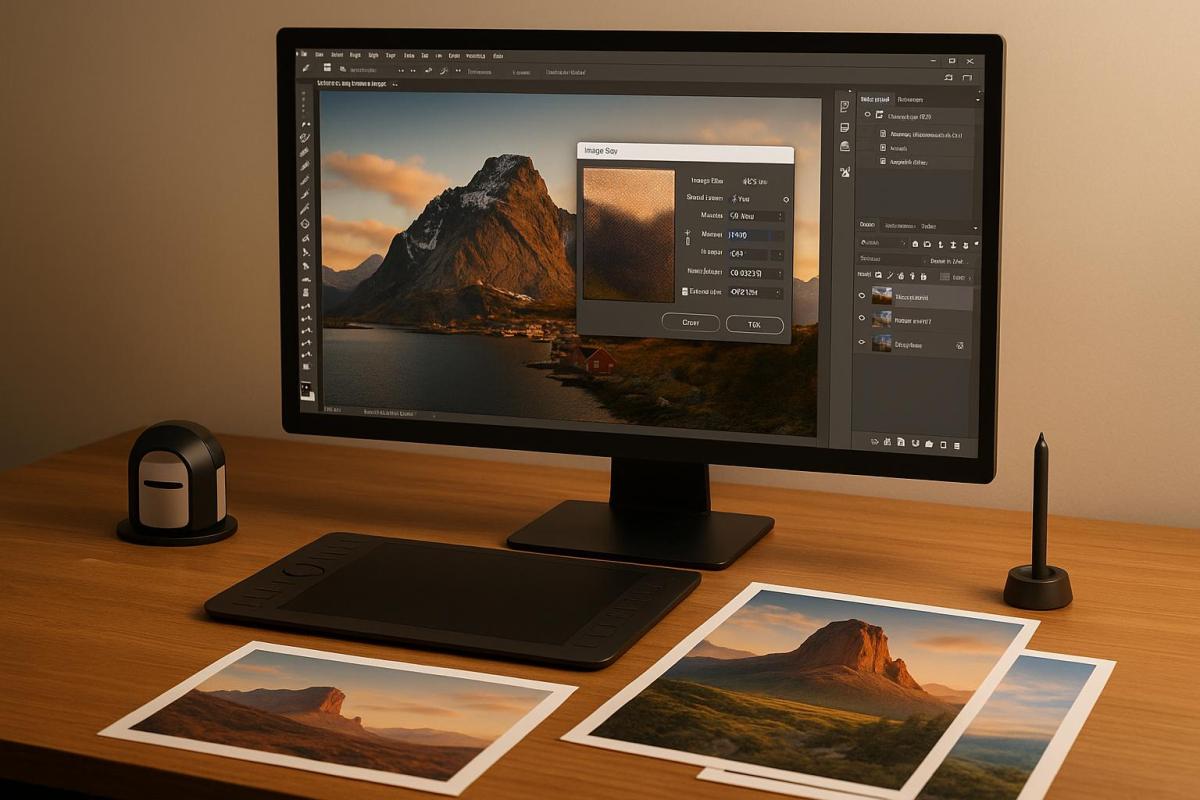
In Adobe Photoshop, you can modify the DPI of raster images by navigating to Image > Image Size. A dialog box will appear, showing fields for Resolution, Width, and Height. Before making changes, ensure you understand the relationship between pixel dimensions and print size. For most high-quality prints, a resolution of 300 DPI is recommended. However, for large format prints viewed from a distance, a lower DPI – like 150 or even 100 – can often suffice. To maintain the original pixel count, uncheck the "Resample" box. For example, if you’re printing a 10-inch by 10-inch image at 300 DPI, your file size should be 3,000px × 3,000px.
For Adobe Illustrator, which primarily handles vector graphics, DPI adjustments apply to raster effects within your design. Go to Effects > Document Raster Effects Settings to control the resolution. You can choose presets like "High Quality 300 DPI" or enter a custom value. This ensures that embedded images and filters render correctly during printing.
Once your design software is configured, move on to your printer’s DPI settings to ensure everything aligns.
Configuring Printer DPI Settings
Adjust your printer’s DPI settings through its control panel or driver software. Most large format printers include options under menus such as "Print Quality", "Resolution", or "DPI Settings." These settings directly affect how your design translates onto the print material.
It’s a good idea to print a test document to confirm your settings. Different materials – like vinyl, canvas, or specialty papers – may behave differently depending on the DPI. For instance, if you’re designing a banner at 10% of its final size, setting the file at 1,200 DPI will result in an effective resolution of 120 DPI when scaled to full size. Always check your printer’s manual for recommendations tailored to your material.
Once you’ve finalized your printer settings, focus on balancing file quality with manageable file sizes.
Managing Quality and File Size
Higher DPI settings provide more detail but can also result in significantly larger file sizes, which might slow down processing and transfer times. To manage this, consider using minimal-loss JPEG compression for raster images. This helps reduce file size while maintaining acceptable quality, especially for prints viewed from a distance. Cropping unnecessary portions of your design and optimizing color profiles can also help without sacrificing clarity.
For detailed or intricate graphics, TIFF files are often the best choice since they support high color depths and efficient compression. On the other hand, vector formats like EPS or SVG are ideal for designs with text and simple shapes, as they can be scaled indefinitely without quality loss. Remember, the ideal DPI depends on both the viewing distance and the material you’re printing on.
If you need professional advice or services for large format printing, consider reaching out to Miro Printing & Graphics Inc. in Hackensack, NJ. Their expertise in digital and large format printing can help ensure your project meets your expectations for quality and clarity.
sbb-itb-ce53437
File Format and Image Quality Tips
Picking the right file format can make or break your print quality. The wrong choice might lead to pixelation, color mismatches, or compression artifacts – issues that become glaringly obvious on large format prints.
Using Lossless File Formats
Beyond resolution, the file format plays a big role in preserving image details during printing.
- TIFF files are ideal for large format printing. These lossless files ensure every detail is retained, making them a top choice for high-quality prints.
- PDF files are incredibly versatile, handling both vector and raster elements with ease. To ensure top-notch results, export PDFs at 300 DPI and in CMYK mode to align with print standards.
- For vector-based designs like logos or illustrations, EPS and AI formats are your go-to. These formats allow for scaling to any size without losing clarity. If you’re using Adobe Illustrator, export your work in AI or EPS to maintain the sharpness of vector graphics.
- PSD files are great for designs that might need last-minute tweaks. They keep layers editable, which is especially useful for photo-heavy projects. However, PSD files tend to be quite large.
One crucial tip: always convert RGB images to CMYK before printing. While RGB colors pop on screens, they often look different in print, so this conversion helps avoid unpleasant surprises.
Pairing the right file format with the correct DPI settings ensures your images stay sharp and vibrant, even when scaled up.
Preventing Compression Problems
Once you’ve chosen the right file format, it’s essential to avoid common pitfalls that could degrade your image quality.
- Steer clear of JPEG files for large format printing. JPEG’s lossy compression reduces quality every time you edit or save the file.
- If you must work with JPEGs, start with the highest resolution available. Never try to upscale a low-resolution JPEG – it only amplifies compression artifacts and results in a blurry, unusable image.
- Keep your resizing proportional to maintain the correct aspect ratio and avoid distortion.
- Raster images should always be at least 300 DPI at the final print size for optimal results. If you’re designing at a smaller scale (like 25% of the final size), create your images at four times the target resolution to ensure clarity when enlarged.
- Resist the temptation to compress files for easier handling. While smaller files might transfer faster, the loss in quality isn’t worth it when you’re aiming for professional-grade large format prints.
Here’s a quick summary of the key file formats, their best uses, and what makes them stand out:
| File Format | Best For | Key Benefits | Important Notes |
|---|---|---|---|
| TIFF | Photos, detailed graphics | Lossless compression, high-quality detail | Large file sizes |
| Mixed media, complex layouts | Handles both vector and raster elements, preserves fonts | Export at 300 DPI in CMYK mode | |
| EPS | Logos, line art | Fully scalable, maintains sharpness | Perfect for vector designs |
| PSD | Layered designs, photo-heavy projects | Editable layers for flexibility | Large file sizes; not suited for vectors |
Choosing the right file format and handling it correctly ensures your final prints look as polished and professional as you envision.
High DPI vs Low DPI Settings
Choosing the right DPI setting is all about balancing print quality with practical constraints. Each option comes with its own set of strengths and challenges that can significantly impact your large format printing project. Here’s a closer look at how these settings influence file size, processing time, and production costs.
High DPI: Benefits and Drawbacks
High DPI (200–300) is ideal for prints that need to look sharp and vibrant up close. This setting ensures detailed and colorful results, making it perfect for items like trade show displays or architectural drawings. High DPI preserves fine text clarity and keeps intricate graphics crisp, even when viewed from just a few feet away.
However, there’s a trade-off. High DPI generates larger file sizes, which can strain your storage and slow down processing. It also requires more power and resources, leading to longer production times and increased costs for labor and ink.
Low DPI: Benefits and Drawbacks
Low DPI, on the other hand, is best suited for prints meant to be viewed from a distance, such as billboards or outdoor banners. With smaller file sizes, this setting makes storage, sharing, and processing much more efficient, often speeding up turnaround times.
The downside? Low DPI can result in pixelation when viewed up close. Fine text may become unreadable, and detailed graphics may lose their sharpness if closely inspected. Additionally, outdoor conditions like sunlight or moisture can impact print quality, which might require adjustments in DPI or the use of specialized materials.
DPI Comparison Table
Here’s a quick breakdown of how high and low DPI settings stack up:
| Feature | High DPI (200–300) | Low DPI (20–150) |
|---|---|---|
| Best Use Cases | Trade show displays, architectural drawings, detailed indoor graphics | Billboards, outdoor banners, distant viewing signage |
| Image Quality | Sharp details, vibrant colors, professional appearance | Adequate for distance viewing; may show pixelation up close |
| File Size | Large files, storage intensive | Smaller files, easier to manage and transfer |
| Processing Time | Longer processing times | Faster processing |
| Production Cost | Higher ink consumption and labor costs | Lower material costs and reduced printing time |
| Viewing Distance | Optimized for close inspection (e.g., 3–10 feet) | Designed for distant viewing (e.g., 50+ feet) |
| Material Compatibility | Works well with rigid materials and premium substrates | Suitable for vinyl, fabric banners, and cost-effective materials |
When deciding on a DPI setting, think about your project’s specific needs. For large displays viewed from a distance, a minimum of 100 DPI is usually sufficient. For items that will be inspected closely, 300 DPI is often necessary. Balancing your budget, timeline, viewing conditions, and quality expectations will help you make the right choice for your large format print project.
Key Takeaways
When it comes to large prints, getting the DPI (dots per inch) right depends on a few key factors: how far the audience will be from the graphic, how you manage your files, and the material you’re printing on. The general rule? The farther away your audience is, the lower the required DPI can be without losing visual clarity.
For example, billboards meant for highway viewing typically need just 20 DPI, while trade show displays viewed up close require 150–300 DPI to achieve a sharp, professional appearance.
While higher DPI ensures more detail, it also leads to larger file sizes and increased costs. A smart approach is to design at a smaller scale with the maximum resolution and then scale up. This method helps maintain quality while keeping file sizes manageable.
File formats also play a crucial role in achieving the desired quality. Use EPS or SVG formats for vector graphics and TIFF for complex images. Running test prints on your selected material can help you spot any necessary DPI adjustments early, saving you from costly reprints.
Large-format printing generally starts at 100 DPI, but your specific project needs will determine the best choice. For professional insights and assistance, you can reach out to Miro Printing & Graphics Inc. at https://bergencountyprinters.com.
FAQs
What is the best DPI setting for large format prints?
When deciding on the right DPI (dots per inch) for large format printing, you need to think about how the print will be viewed and the level of detail it needs. For most projects, 100 to 150 DPI works well, especially for prints meant to be seen from a distance, like banners or billboards. However, for prints that will be viewed up close – such as posters or fine art – going with 150 to 300 DPI ensures sharper detail.
It’s worth noting that higher DPI settings lead to larger file sizes, which can slow down processing and printing. The trick is to find the sweet spot between resolution and practicality, ensuring your prints look clear and professional without creating oversized files. If you’re unsure about the best settings, reaching out to a professional print shop like Miro Printing & Graphics Inc. can provide the guidance you need for your specific project.
What file formats should I use for the best quality in large format printing?
When it comes to large format printing, choosing the right file format is key to preserving image sharpness and detail. The best options include TIFF, PDF, EPS, and PSD. These formats are designed to handle high-resolution images while keeping your design intact throughout the printing process.
To prepare your files properly, make sure they’re saved at a resolution of at least 300 DPI. Also, embed any fonts and images directly into the file to avoid any surprises during printing. Following these steps will help your large format prints stand out with crisp, professional quality.
How can I handle large file sizes when working with high DPI for large format printing?
To handle large file sizes for high DPI large-format prints, it’s best to create files at their actual size whenever possible. If the final dimensions exceed your software’s limits, work at a common scale like 1/2 or 1/10, and make sure to label the scale clearly in the file name to avoid any mix-ups. A resolution of 100–150 DPI works well for most large prints, but you can push it up to 300 DPI for projects that need extra detail or are meant to be viewed up close.
Stick to lossless file formats like TIFF to maintain image quality without adding unnecessary bulk to your files. You can also resize images directly in your RIP software to simplify the workflow. Staying organized is key – maintain a clear file structure, and double-check both dimensions and resolution before sending files to print.
Related posts
- Large Format Printing: DPI vs. PPI Explained
- Image Resolution Standards for Offset Printing
- Best DPI Settings for Photo Printing
- How to Compress Images for Large Format Printing
https://app.seobotai.com/banner/banner.js?id=685355d05559d477e75e276f
