To create print-ready designs, start with the right artboard setup. Here’s a quick guide:
- Resolution: Set to 300 DPI for sharp, clear prints.
- Color Mode: Use CMYK for accurate color reproduction.
- Bleed and Margins: Add a 0.25-inch bleed and a 0.25-inch safe zone to avoid trimming issues.
- File Format: Export as a print-ready PDF with embedded fonts.
- Design Size: Create artboards at the actual size of your printed piece, including the bleed.
Common Mistakes to Avoid
- Missing bleed → leads to white edges.
- Wrong color mode → causes inaccurate colors.
- Low resolution → results in blurry prints.
Pro Tip: Always proof your design and check files for errors before printing. This ensures a polished, professional result.
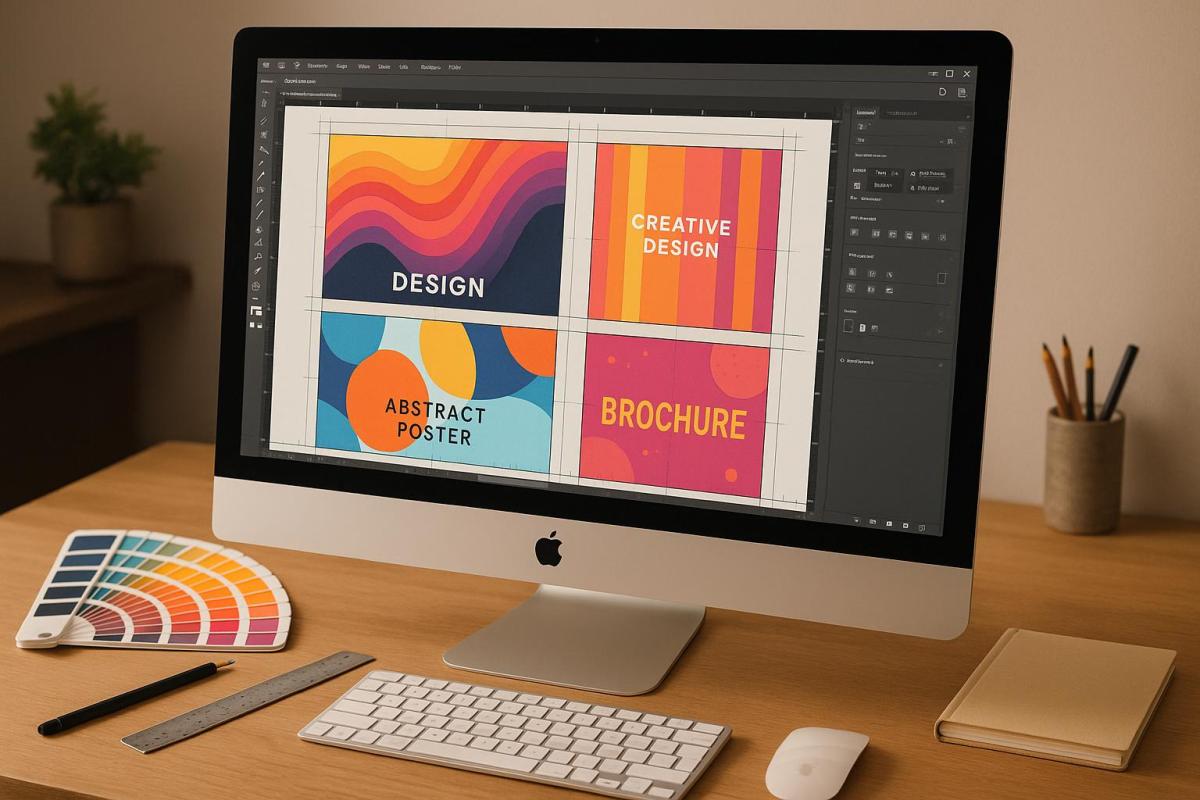
How to set up your design document for Print // Illustrator + InDesign // Print Ready Files Series
Core Components of Print-Ready Artboards
Creating artboards ready for professional printing involves paying close attention to specific design elements. These ensure your final product looks polished and meets industry standards. Let’s break down the essentials.
Bleed, Margins, and Safe Zones
In professional printing, defining artwork zones is crucial:
| Zone | Size | Purpose |
|---|---|---|
| Bleed | 0.25" on all sides | Extends the background beyond the trim line |
| Margins | 0.25" from trim | Provides a visual buffer from the edges |
| Safe Zone | 0.25" inside margins | Ensures essential content stays intact |
These sizes align with US printing standards, though some projects may call for adjustments. Always extend background elements into the bleed area to avoid unwanted white edges after trimming. With these zones in place, your document dimensions should incorporate the bleed for seamless integration.
Setting Document Dimensions
For US-based print projects, standard paper sizes include:
- Letter: 8.5" × 11"
- Legal: 8.5" × 14"
- Tabloid: 11" × 17"
When setting up your artboard, remember to add the bleed to these dimensions. For instance, a Letter-size document with a 0.25" bleed on all sides should measure 9" × 11.5". This adjustment ensures there’s no risk of white edges after trimming.
Print Color and Resolution Guidelines
To prepare files that meet print standards, follow these settings:
- Color Mode: Use the CMYK color space. If your files are in RGB, convert them to CMYK before exporting.
- Resolution: Set your document resolution to 300 PPI for sharp, high-quality prints.
- File Format: Use vector formats for logos and text, and export your final design as a print-ready PDF.
One thing to note: CMYK colors often appear less vibrant than RGB. Bright colors like oranges and deep blues may look different when printed, so always proof your design to avoid surprises.
Software-Specific Setup Instructions
To achieve print-ready designs, you’ll need to adjust the settings of your design software to match the core print setup guidelines. Here’s how to configure some of the most widely used tools.
Adobe Illustrator Setup Guide
Getting your artboards ready in Illustrator involves precise adjustments to meet print standards:
-
Create a New Document
Go to File > New Document and configure the following settings:- Document Type: Print
- Dimensions: Final trim size
- Color Mode: CMYK
- Resolution: 300 PPI
- Bleed: 0.125 inches
-
Set Up Safety Margins
Draw a rectangle that’s 0.5 inches smaller than the artboard dimensions. Center it, then convert it to guides to mark your safety margins.
Next, let’s move on to Adobe InDesign, which provides a more advanced suite of tools for professional print preparation.
Adobe InDesign Document Setup
InDesign is a go-to for print design, offering detailed controls for setup. Here’s a quick guide to the key settings:
| Setting | Recommendation | Purpose |
|---|---|---|
| Color Mode | CMYK | Standard for professional printing |
| Resolution | 300 PPI | Ensures crisp and sharp output |
| Bleed | 0.125 inches | Extends artwork beyond the trim area |
| Safety Margin | 0.25 inches | Keeps important elements from being cut |
To ensure the best results:
- Convert all RGB images to CMYK and check their resolution via Window > Info.
- Use the Preflight tool to identify and fix any potential issues.
- Export your design as a PDF using the PDF (Print) preset for proper print compatibility.
If you prefer CorelDRAW, here’s how to set up your project for print accuracy.
CorelDRAW Page Configuration

CorelDRAW also supports professional print workflows. Follow these steps to ensure your design is print-ready:
-
Initial Setup
- Start a new document in CMYK color mode.
- Set Document Raster Effects to 300 PPI.
- Enable Overprint Preview to review how colors will overlap.
- For large black areas, use a rich black formula: C25 M25 Y0 K100.
-
Print Preparation
- Convert all text to curves to prevent font issues during printing.
- Use the Flattener Preview to check for transparency issues.
- Switch to Wireframe View to inspect color fills and drop shadows.
- Verify that all linked images are in CMYK mode and have a resolution of 300 PPI.
- Define a bleed area in the page settings to extend your artwork beyond the trim line.
sbb-itb-ce53437
Preparing Files for Print
Once your artboard is set up, the next step is preparing your file to ensure it’s ready for high-quality printing.
Choosing PDF Export Settings
Export your design as a print-ready PDF using the PDF/X-1a:2001 standard. Set the resolution to 300 DPI, use the CMYK color mode, and avoid compressing images. For a quick start, select the ‘Highest Quality Print’ preset.
Don’t forget to configure print marks and bleed settings to guarantee accurate trimming.
Adding Print Marks and Bleed
To make sure your design extends beyond the trim line, add a 0.125-inch bleed on all sides. Enable crop marks in your export settings and double-check that the document’s bleed settings are applied correctly.
Once these settings are in place, it’s time to perform a final quality check.
File Quality Check Steps
Before sending your file to print, go through these essential checks:
-
Image Quality
Zoom in to 100% and inspect all images for clarity.- Standard prints: Minimum 300 DPI
- Text-heavy images: Minimum 400 DPI
- Large format prints: Minimum 100 DPI
-
Color and Technical Details
- Convert all RGB elements to CMYK.
- Use rich black for areas that need solid black.
- Embed fonts or convert them to outlines.
- Keep image scaling within 120% to avoid quality loss.
- Ensure all critical elements stay within the safe zones.
- Use preflight tools to catch any technical issues.
Finally, always request a proof print before moving forward with full production. This step helps you catch any last-minute adjustments and ensures your design looks exactly as intended.
Fixing Common Setup Errors
Bleed and Margin Fixes
Getting the bleed settings right can make or break your print project. As Thomas Group Printing explains:
"Incorrectly set bleed is one of the most common mistakes we see in the files we are sent".
Key Bleed Settings to Remember:
- Make sure your bleed matches the project requirements (usually 0.25 inches).
- Extend background elements all the way to the bleed area.
- Double-check that bleed settings are enabled when exporting to PDF.
Additionally, keep a safety margin of 0.25 inches from the trim edge. This ensures important content won’t get cut off or leave unwanted white borders.
Font Setup and Management
Once the layout is squared away, it’s time to fine-tune your fonts to avoid any typographic hiccups.
How to Handle Fonts Properly:
- Always export your project as a PDF with fonts embedded.
- For logos or design-heavy elements, convert text to outlines.
- Check PDF properties to confirm fonts are embedded correctly.
If you run into font embedding issues, stick with widely used fonts like Arial, Times New Roman, or Helvetica for greater compatibility.
Image Quality Solutions
Low-resolution images can ruin an otherwise great design. Replace them with higher-quality alternatives to ensure sharp prints.
Resolution Guidelines:
- For standard prints, use images with a minimum of 300 DPI.
- If the image contains text, aim for at least 400 DPI.
- Use vector formats for logos and text-heavy designs.
- Avoid upscaling low-res images – it leads to blurry results.
Lastly, convert all RGB images to CMYK before sending them to print. These steps, combined with earlier quality checks, will help you achieve a polished final product.
Summary and Best Practices
Print Setup Checklist
Here’s a quick reference guide to help you finalize your print setup and avoid common pitfalls:
| Setup Component | Specification | Common Issues to Watch |
|---|---|---|
| Color Mode | CMYK | RGB images require conversion |
| Resolution | At least 300 DPI | Low-resolution images may look pixelated |
| Bleed Area | 0.125 inches | Missing or incomplete bleed |
| Safe Zone | 0.25 inches from trim | Text placed too close to the edge |
| Font Size | Minimum 8pt; 10pt for reverse text | Small text may become illegible |
| Line Weight | Minimum 0.25pt thick | Thin lines may disappear |
Always use the ‘Press Quality’ PDF preset to ensure your files are optimized for professional printing. Following these guidelines helps create a polished, error-free design ready for production.
Professional Print Services at Miro Printing & Graphics Inc.
Once your artboards align with the checklist, partnering with a professional printing service can help ensure your final product meets the highest standards. Based in Hackensack, NJ, Miro Printing & Graphics Inc. provides comprehensive digital and offset printing solutions tailored to your needs.
What Sets Miro Apart?
- Pre-press File Inspection: Ensures your files are print-ready.
- Color Accuracy Verification: Maintains consistency in color reproduction.
- Print Proof Review: Gives you a chance to approve the final look before production.
- Technical Support: Guides you through every step of the process.
Research shows that first impressions are made in just seven seconds, so high-quality printing plays a crucial role in leaving a lasting impact. For more intricate projects, Miro’s in-house design team can adjust your files to meet technical requirements, reducing errors and streamlining production timelines. This hands-on approach ensures your vision translates perfectly to print.
FAQs
Why should I use CMYK instead of RGB for print designs?
When preparing designs for print, it’s best to work in the CMYK color mode. CMYK stands for Cyan, Magenta, Yellow, and Black, and it reflects how ink behaves on paper. Using this mode helps ensure that the colors in your printed materials closely align with your original design.
In contrast, RGB (Red, Green, Blue) is tailored for digital screens. If you design in RGB and later convert to CMYK for printing, the colors may shift, leading to unexpected results. This can be frustrating, especially when precise color matching is essential.
Starting your design in CMYK is particularly important for projects like brochures, business cards, or marketing materials where consistent and accurate colors make a big difference.
How can I make sure my images are high-resolution and print-ready?
To make sure your images are ready for professional printing and look sharp, here’s what you need to do:
- Set the resolution to 300 DPI (dots per inch): This ensures crisp, clear print quality and is the standard for most professional print jobs.
- Match the image dimensions to the print size: For instance, if you’re printing a 4×6-inch photo, the image should be at least 1200 x 1800 pixels at 300 DPI.
- Use high-quality file formats: Save your images in formats like TIFF or PNG, as these retain more detail compared to JPEGs.
- Avoid enlarging images: Enlarging beyond the original size can result in pixelation. If resizing is necessary, it’s always better to scale down rather than up.
By following these steps, you’ll ensure your printed materials come out looking polished and professional. If you need expert help, consider reaching out to a reliable print shop like Miro Printing & Graphics Inc. in Hackensack, NJ.
How do I make sure my design has the correct bleed and margins for printing?
To get your design ready for professional printing, it’s crucial to double-check the bleed and margin settings. Typically, a standard bleed size is 0.125 inches on all sides, while margins should keep key elements at least 0.25 inches away from the trim line. These settings can usually be adjusted in the document setup options of your design software.
Make use of visual tools like crop marks and bleed lines to ensure your design extends properly into the bleed area and that no essential text or images are positioned too close to the edges. Before exporting your file, take a moment to review everything thoroughly. This step helps prevent any printing mishaps or design cutoffs.
If you’re unsure or want expert guidance, Miro Printing & Graphics Inc., located in Hackensack, NJ, offers professional support to ensure your files are print-ready and deliver exceptional results tailored to your needs.
Related posts
- How to Set Up Files for Die-Cutting
- How to Prepare Vector Files for Print
- How to Prepare Files for Die-Cutting and Laser Cutting
- Checklist for Print-Ready Files: Bleed, Trim, Safe Zone
https://app.seobotai.com/banner/banner.js?id=682d25644fa53d42207e4036
