- 300 DPI is the gold standard for most offset printing, ensuring clear, crisp results.
- DPI vs. PPI: DPI measures print quality (dots on paper), while PPI measures screen resolution (pixels).
- Different materials need different resolutions:
- Business cards: 300-600 DPI
- Posters: 150-300 DPI (lower DPI works for larger, distant prints).
- File Formats Matter: Use TIFF for photos, EPS for logos, and PDF/X-1a for mixed content.
- Color Mode: Convert images to CMYK for accurate printing; RGB won’t work well for print.
Quick Tip: Always start with high-resolution images and avoid enlarging them to prevent quality loss.
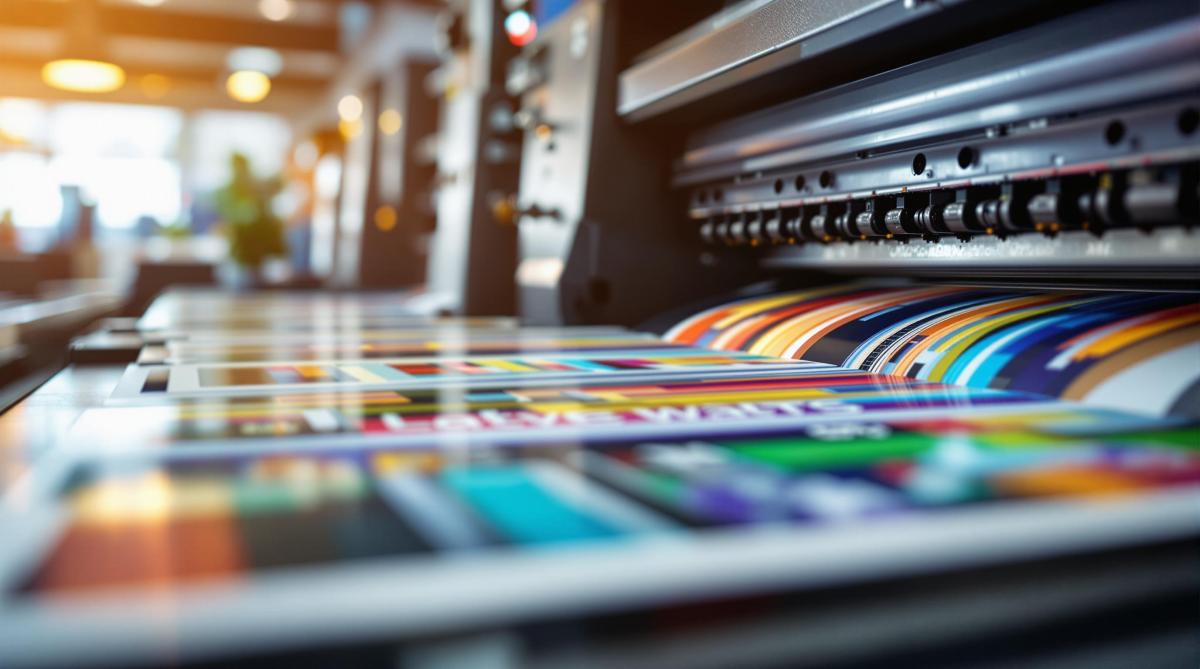
Offset printing demands attention to resolution, file formats, and color settings to achieve polished, high-quality results. Let’s dive into the details to ensure your prints look their best.
DPI and Image Resolution Basics
DPI Explained
DPI, or Dots Per Inch, measures how many ink dots are printed within an inch. The higher the DPI, the sharper the print. For instance, a 300 DPI image packs 90,000 dots per square inch (300 x 300), while a 150 DPI image only has 22,500 dots in the same area. More dots mean greater detail and clarity.
DPI vs. PPI: What’s the Difference?
DPI and PPI (Pixels Per Inch) are often confused, but they refer to different things:
| Characteristic | DPI | PPI |
|---|---|---|
| Definition | Physical ink dots on paper | Digital pixels on a screen |
| Primary Use | Measures print output | Measures digital resolution |
| Typical Range | 300-1200 for printing | 72-300 for screens |
| Quality Impact | Affects printed image quality | Affects on-screen image quality |
Knowing the difference is crucial for preparing digital files for printing. For example, a 72 PPI image (standard for web use) won’t print well without being adjusted to 300 DPI, which is necessary for professional-quality prints.
Standard DPI for Offset Printing
The required DPI for offset printing depends on the material and viewing distance:
| Print Material | Recommended DPI | Viewing Distance |
|---|---|---|
| Business Cards | 300-600 | Close (8-12 inches) |
| Brochures/Flyers | 300 | Standard (1-2 feet) |
| Posters | 150-300 | Medium (3-6 feet) |
| Billboards | 50-150 | Far (20+ feet) |
For most offset printing, 300 DPI strikes a good balance between sharpness and file size. However, enlarging a 300 DPI image by 200% reduces its effective resolution to 150 DPI, which can result in noticeable quality loss. Next, we’ll cover how to prepare file formats and color modes for printing.
300 DPI Myth | What Are DPI, PPI & LPI | Printing for …
Print Material Resolution Guide
Understanding DPI is just the start – each type of print material needs specific resolution standards to achieve the best results.
Book and Magazine Standards
Books and magazines require sharp text and clear images. To meet these needs, images should have a resolution of at least 300 DPI at their final printed size. Text is typically vectorized to maintain sharpness, but if it’s part of a raster image (like scanned pages or creative layouts), aim for 300–600 DPI to keep it readable. For example, a 6 × 9-inch book page should include images that measure at least 1,800 × 2,700 pixels when printed at 300 DPI.
Now, let’s take a closer look at the specific resolution needs for marketing materials.
Marketing Material Requirements
Business cards, brochures, and flyers need a balance between sharp text and detailed images. Below are the recommended standards:
| Marketing Item | Minimum DPI | Optimal DPI | Notes |
|---|---|---|---|
| Business Cards | 300 | 600 | Ensures clear logos and contact details |
| Brochures/Flyers | 300 | 450 | Balances image detail with text clarity |
Large Format Print Standards
Large format prints, like posters and banners, can use lower resolutions because they’re viewed from farther away. Here’s a breakdown of specifications:
| Print Size | Viewing Distance | Recommended Minimum DPI | Notes on File Size Impact |
|---|---|---|---|
| 24" × 36" Poster | 3–6 feet | 150 | Suitable for close-up viewing |
| 3′ × 6′ Banner | 6–12 feet | 100 | Optimized for moderate distances |
| 6′ × 12′ Billboard | 20+ feet | 50 | Works for distant viewing |
For example, a trade show banner viewed from 10 feet should use 100 DPI. To ensure logos and text stay crisp at any size, use vector elements whenever possible. Starting with high-resolution source files also gives you more flexibility when scaling up.
sbb-itb-ce53437
Image Preparation Steps
Get your images ready the right way to ensure top-notch quality in offset printing.
File Format Selection
Choosing the right file format is crucial for print quality. Here’s a quick comparison of the best options:
| Format | Best Uses | Advantages | File Size Impact |
|---|---|---|---|
| TIFF | Photos and complex images | High-quality, supports layers | Large (100+ MB for high-res files) |
| EPS | Logos and vector graphics | Scalable without losing sharpness | Small to medium (1-20 MB) |
| PDF/X-1a | Mixed content documents | Preserves fonts, industry standard | Medium (20-50 MB typical) |
When creating PDFs, always embed fonts and stick to the PDF/X-1a standard. After that, convert colors from RGB to CMYK for accurate printing.
CMYK vs RGB Color Modes
Switching from RGB to CMYK is essential for precise color reproduction in offset printing. Follow these steps:
- Start with your RGB files.
- Convert them to CMYK using the U.S. Web Coated (SWOP) v2 profile.
- Keep ink coverage under 300%.
- Check each color channel individually.
To ensure color accuracy, calibrate your monitor and use professional color management tools. Keep in mind that RGB colors might look less vibrant in CMYK, so adjust saturation and contrast as needed.
Common Resolution Errors
Resolution issues can ruin print quality if not addressed. Here’s what to look out for:
| Error | Impact | Solution |
|---|---|---|
| Upscaling low-res images | Pixelation and blur | Reshoot or find higher-resolution images |
| Incorrect DPI settings | Loss of detail | Set resolution correctly for print size |
| JPG compression artifacts | Visible degradation | Use uncompressed formats for final files |
| Mixed resolution elements | Inconsistent quality | Standardize all elements to the same resolution |
Use preflight tools in your design software to catch resolution problems early. Check text readability at 100% size and avoid copying and pasting images between applications – always use proper file linking and packaging to maintain quality.
Image Quality Problem-Solving
Fixing Image Clarity Issues
If you’re facing issues with image clarity, here are some common problems and how to address them:
| Issue | How to Detect | Solution |
|---|---|---|
| Moiré Patterns | Inspect visually at 100% zoom | Adjust screen angles or rescan with a 15° rotation |
| Edge Blurriness | Use a magnifying glass | Apply selective sharpening; keep images at 2x final size |
| Halftone Dots | Check with preflight software | Set an appropriate line screen (e.g., 150-175 lpi for coated paper) |
| Resolution Loss | Measure effective PPI | Ensure a minimum of 300 DPI at the final print size |
For sharpening, use the Unsharp Mask tool with these settings:
- Amount: 85-125%
- Radius: 0.3-0.7 pixels
- Threshold: 3-7 levels
Avoid global sharpening filters, as they can introduce unwanted artifacts. Instead, use selective sharpening to enhance specific areas, particularly edges, while keeping backgrounds and skin tones smooth. Alongside clarity, accurate color reproduction is equally important for high-quality prints.
Color Accuracy Solutions
Achieving accurate colors requires careful calibration and preparation. Follow these steps:
1. Monitor Calibration
Use a professional colorimeter to calibrate your monitor. Set the white point to 5000K (D50), gamma to 2.2, and luminance to 120 cd/m².
2. Color Profile Management
Use ICC profiles tailored to your paper type and printing setup. For example:
- Coated paper: GRACoL 2013
- Uncoated paper: SWOP 2013 (Grade 5)
- Newsprint: SNAP 2007
3. Soft Proofing
Enable soft proofing in your design software to preview how the final print will look. Pay close attention to:
- Rich blacks: Use C:60 M:40 Y:40 K:100 for a deep black tone.
- Maximum ink density: Keep it within 300-320% total.
- Spot color conversions: Ensure proper CMYK conversions.
For consistent color evaluation, view prints under D50 lighting conditions. Keep in mind that glossy paper tends to deliver more vibrant colors compared to uncoated stock, so adjust your expectations based on the paper type.
Summary
Resolution Standards Quick Guide
Here’s an overview of key resolution standards for professional offset printing:
| Print Material | Minimum DPI | Optimal DPI | Color Mode |
|---|---|---|---|
| Business Cards | 300 | 350-400 | CMYK |
| Brochures & Flyers | 300 | 350 | CMYK |
| Large Format Banners | 100-150 | 200 | CMYK |
| Photo Books | 300 | 400-600 | CMYK |
| Fine Art Prints | 400 | 600+ | CMYK |
When preparing files for offset printing, follow these guidelines to ensure high-quality results:
- Image Size: Use original files that are twice the size of the final print dimensions.
- Color Profile: Apply the GRACoL 2013 profile for coated paper.
- Total Ink Coverage: Limit coverage to 300-320% for best outcomes.
- Safe Resolution: Avoid enlarging images beyond their original size.
These practices support consistent and sharp results in offset printing.
Miro Printing & Graphics Inc. Services
Miro Printing & Graphics Inc. brings over 30 years of experience to offset printing, adhering to strict resolution standards. Their in-house prepress team ensures all files meet quality requirements before printing.
Their services include:
- High-resolution commercial printing up to 600 DPI
- Professional prepress file optimization
- Custom projects tailored to specific resolution needs
- Full in-house bindery services
For custom printing needs, their team offers one-on-one consultations to determine the best resolution settings. Based in Hackensack, NJ, they serve businesses across Bergen County, delivering clear images and accurate colors.
For detailed project specifications, reach out to their technical team at mikem@miroprinting.com.
Related Blog Posts
- Offset vs. Digital: Paper Size Considerations
- How to Adjust Colors for Offset Printing
- Standard Print Sizes Explained
- Large Format Printing: DPI vs. PPI Explained
https://app.seobotai.com/banner/banner.js?id=67e0c2c3a2808c1172f2f399
