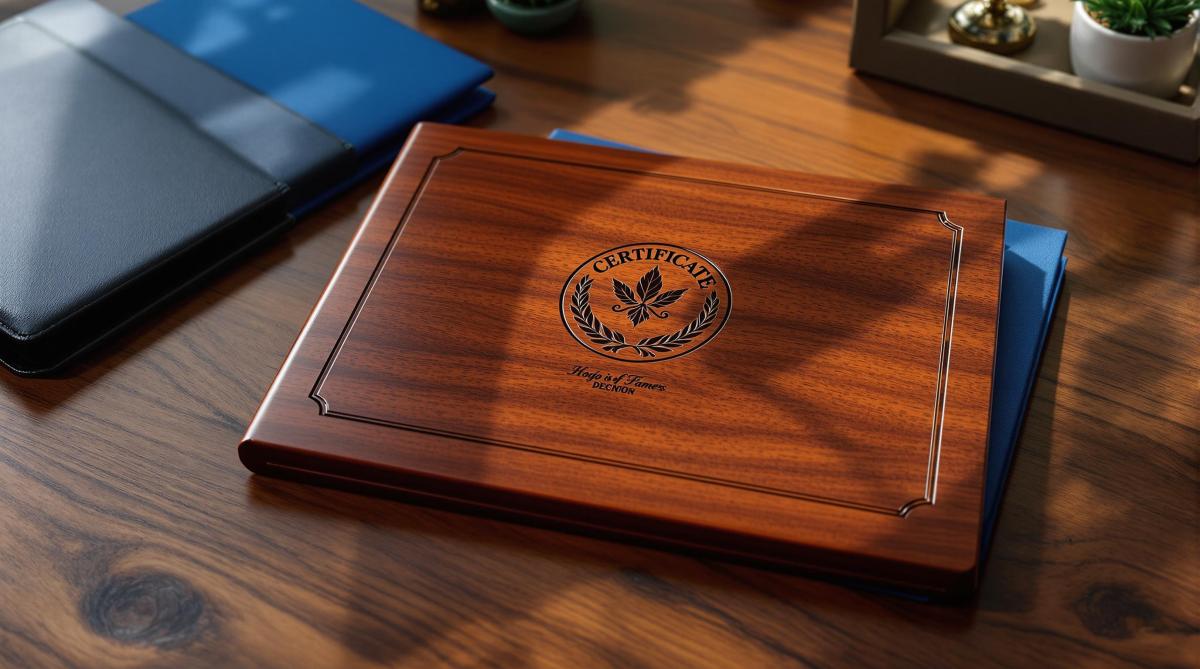
Corporate certificates are more than just paper – they represent achievements and your brand’s identity. This guide covers everything you need to know about designing, printing, and producing professional certificates that stand out. Here’s what you’ll learn:
- Design Basics: Focus on clean layouts, branding, and security features like watermarks and UV ink to prevent counterfeiting.
- Materials: Use premium paper like linen or cotton, and enhance with embossing, foil stamping, or protective coatings.
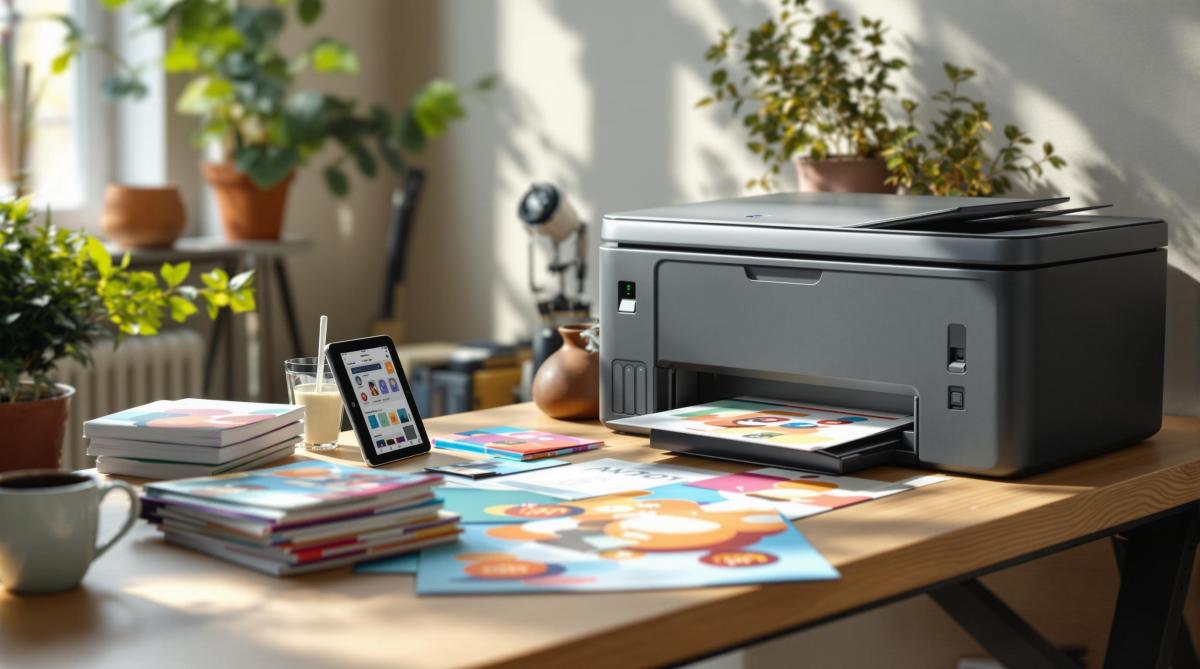
- Printing Methods: Choose between digital (best for small runs) or offset printing (ideal for high volume) based on your needs.
- Personalization: Add names, serial numbers, or QR codes using Variable Data Printing (VDP) for a custom touch.
- Delivery Options: Combine physical and digital certificates for flexibility and convenience.
Pro Tip: Partner with a reliable print service like Miro Printing & Graphics Inc. to ensure high-quality results, fast turnaround, and secure features.
Whether you’re creating certificates for employee recognition, awards, or milestones, this guide simplifies the process from design to delivery.
How to design custom certificates and awards
Certificate Design Guidelines
Corporate certificates should be visually appealing while incorporating measures to prevent counterfeiting.
Basic Design Components
A well-thought-out layout reflects your brand identity. Place your logo in a prominent position and use whitespace effectively to keep the design clean. Employ typographic hierarchy to guide the viewer’s attention and stick to a small selection of complementary fonts and brand-aligned colors. Once the design is polished, enhance it with built-in security features.
Security Elements
Adding security features is a key step to prevent counterfeiting. Here are some essential options:
| Security Feature | Purpose | Implementation Method |
|---|---|---|
| Microtext | Deters counterfeiting | Incorporate very fine text that’s difficult to replicate into the design. |
| Guilloche Patterns | Adds complex design elements | Use advanced graphic techniques to create detailed, interwoven patterns. |
| UV Fluorescent Ink | Enables UV-based verification | Apply inks that reveal hidden designs under ultraviolet light. |
| Custom Watermarks | Boosts document authenticity | Embed watermarks directly into the paper during the manufacturing process. |
For even more protection, you can include features like thermochromic inks that react to heat, holographic foil stamps, unique serial numbers, or QR codes that link to a digital verification system. Just ensure these additions don’t clutter the overall design.
Paper and Material Options
The right paper and materials can elevate the look and feel of a certificate, leaving a lasting impression. High-quality materials not only improve the design but also ensure the certificate remains intact over time.
Paper Types and Specifications
The foundation of any certificate lies in the paper you choose. For corporate certificates, it’s important to focus on options that combine durability with an upscale appearance. Textured papers, like linen, offer a sophisticated touch, while cotton-based paper is favored for its long-lasting quality. Depending on the certificate’s purpose and style, you might also consider classic parchment finishes or modern metallic sheens.
Look for paper that can handle frequent handling and reproduce intricate details clearly. Striking the right balance between sturdiness and print quality ensures a professional result.
Surface Treatments
Surface treatments can enhance the visual appeal and protect the certificate from wear and tear. These finishing techniques add both style and durability.
-
Embossing and Debossing
These methods create raised or recessed designs, making elements like logos or seals stand out with a three-dimensional effect. -
Foil Stamping
Adding metallic foils in shades such as gold, silver, or copper gives certificates a premium look. Miro Printing & Graphics Inc. notes that foil stamping is a top choice for corporate awards and certificates. -
Protective Coatings
Coatings not only protect the certificate but also enhance its finish. Glossy UV coatings guard against moisture and fading, while satin or matte finishes provide a more understated elegance.
These thoughtful material and treatment choices set the stage for advanced printing techniques, which will be explored in the next section.
sbb-itb-ce53437
Printing Methods
Choosing the right printing method for corporate certificates is key to creating professional results that reflect your organization’s standards. Different techniques bring their own strengths to the table.
Digital vs. Offset Printing
When deciding between digital and offset printing, it’s important to weigh the differences in quality, cost, and other factors:
| Feature | Digital Printing | Offset Printing |
|---|---|---|
| Cost per unit | Higher for small runs | Lower for large runs (500+) |
| Setup time | Quick (minutes) | Longer (hours) |
| Color accuracy | Good | Excellent |
| Variable data | Supported | Not supported |
| Minimum order | As low as 1 | Typically 500+ |
| Production speed | Faster for small runs | Faster for large runs |
Understanding these options helps you make informed decisions and ensures your certificates meet professional standards.
Advanced Printing Techniques
Foil stamping is a popular way to add metallic accents to certificates, giving them an upscale, polished look. This technique, often used by Miro Printing & Graphics Inc., enhances the overall presentation with shiny, elegant details.
Quality Control Steps
Maintaining consistent quality requires a structured and thorough production process.
"Presentation is the first step to a successful, lasting relationship." – Miro Printing & Graphics Inc.
- Pre-print Verification: Includes color calibration, checking paper stock, and aligning design elements.
- Production Monitoring: Focuses on maintaining color consistency, ensuring proper registration, and checking surface finishes.
- Final Quality Assurance: Involves inspecting each certificate, verifying security features, and ensuring packaging meets standards.
Always request proofs and review them carefully before giving the go-ahead for production. These steps help ensure your certificates not only meet but exceed your expectations, aligning perfectly with your brand’s image.
Certificate Personalization and Delivery
Creating certificates combines the craftsmanship of traditional methods with the convenience of digital customization, making the process both efficient and tailored.
Variable Data Printing
Variable Data Printing (VDP) technology makes it possible to customize certificates on a large scale without compromising quality. This approach integrates personalized details directly into the certificate design.
| VDP Element | Customization Options |
|---|---|
| Text Fields | Names, dates, titles, award details |
| Unique Identifiers | Serial numbers, QR codes, barcodes |
| Graphics | Logos, signatures, department badges |
| Security Features | Microtext, watermarks, holographic elements |
By using VDP, even large-scale orders can be handled efficiently while maintaining a polished, professional appearance.
Managing Large Orders
Producing certificates in high volumes involves several key steps:
- Batch processing ensures smooth workflows.
- Quality control checkpoints maintain high standards.
- Organized distribution systems streamline delivery.
For particularly large orders, breaking production into stages can help ensure quality and reduce storage issues. Careful logistical planning ensures certificates arrive in perfect condition.
Digital Certificate Options
In addition to physical certificates, digital certificates provide instant acknowledgment. Features like blockchain verification, digital signatures, and automated tracking make them secure and easy to validate.
Combining physical and digital certificates creates a well-rounded system. Miro Printing & Graphics Inc. offers hybrid solutions that connect printed certificates to their digital counterparts through QR codes. This approach allows recipients to access digital versions immediately, even while waiting for the physical copies, blending tradition with modern convenience.
Print Service Selection
Once your design and production methods are finalized, the next step is finding the right printing service. A reliable print partner is key to producing high-quality corporate certificates.
Miro Printing & Graphics Inc.

Located in Hackensack, NJ, Miro Printing & Graphics Inc. offers a range of services:
| Service Category | Key Offerings |
|---|---|
| Print Methods | Digital printing, Offset printing |
| Finishing Services | Die cutting, Micro-perforation, Creasing/Scoring |
| Security Features | Numbering |
With in-house production, they maintain control over quality at every stage of the process.
This is just one example to guide your search for other suitable providers.
Print Provider Evaluation
When choosing a print provider, focus on the following criteria to ensure quality and security:
-
Technical Capabilities
Check if they provide both digital and offset printing. This flexibility can help balance costs and handle different order sizes effectively. -
Security Features
Look for features that protect against tampering or forgery, such as:- Tamper-evident materials
- Sequential numbering
- Microprinting
- Watermarks
- Holographic elements
-
Quality Control Processes
A strong quality assurance system is critical. Ask about:- Color calibration methods
- Material testing
- Multi-point inspections
- Proof approval procedures
-
Production Capacity
Evaluate their ability to meet your needs by reviewing:- Order size limits (minimum and maximum)
- Turnaround times for different volumes
- Rush order options
- Storage and fulfillment services
Request sample certificates to examine print quality, paper choices, and finishing options. A professional printer should communicate clearly, offer detailed specifications, and guide you through available features.
For the best results, seek out providers with proven expertise in corporate certificate printing.
Conclusion
Key Factors
Producing corporate certificates successfully hinges on four main areas:
| Decision Area | Key Elements |
|---|---|
| Design | Security features, branding, and layout |
| Materials | Paper quality, durability, and finishes |
| Production | Printing methods and quality control |
| Distribution | Managing orders and personalization |
Consistency is crucial, especially for large orders. Partnering with skilled print providers ensures professional results while keeping costs manageable. These focus areas form the foundation of the practices outlined below.
Practical Tips
To ensure your certificate project runs smoothly, consider these tips:
- Work with a print provider who offers personalized consultations to understand your specific requirements.
- Confirm their ability to handle intricate projects with fast turnaround times.
- Check that they follow strict quality control processes.
- Communicate clearly, provide detailed specifications, and carefully review proofs before finalizing.
Customer Mike B. shared, "Great customer service that we didn’t get with our old online printer – attention to detail is what makes the difference!"
As covered earlier, thoughtful design, high-quality materials, and precise production methods are key to success. Certificates should reflect your brand while balancing quality and cost. Collaborating with experienced print services simplifies the process and delivers polished results.
Related Blog Posts
- Ultimate Guide to Personalized Print Design
- How to Choose the Right Paper for Custom Prints
- Offset vs. Digital Printing for Certificates
- Custom Certificate Holders: Design Options
https://app.seobotai.com/banner/banner.js?id=67d7a9b393055d8174d3bb11