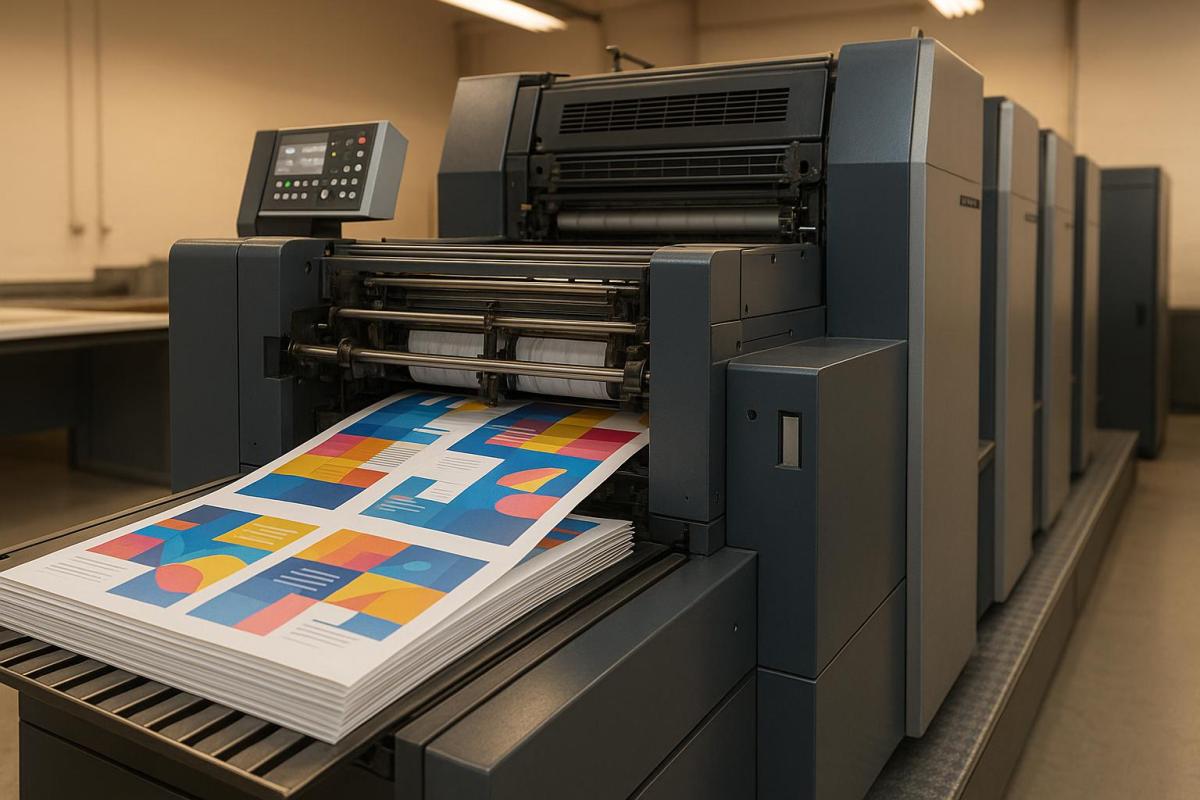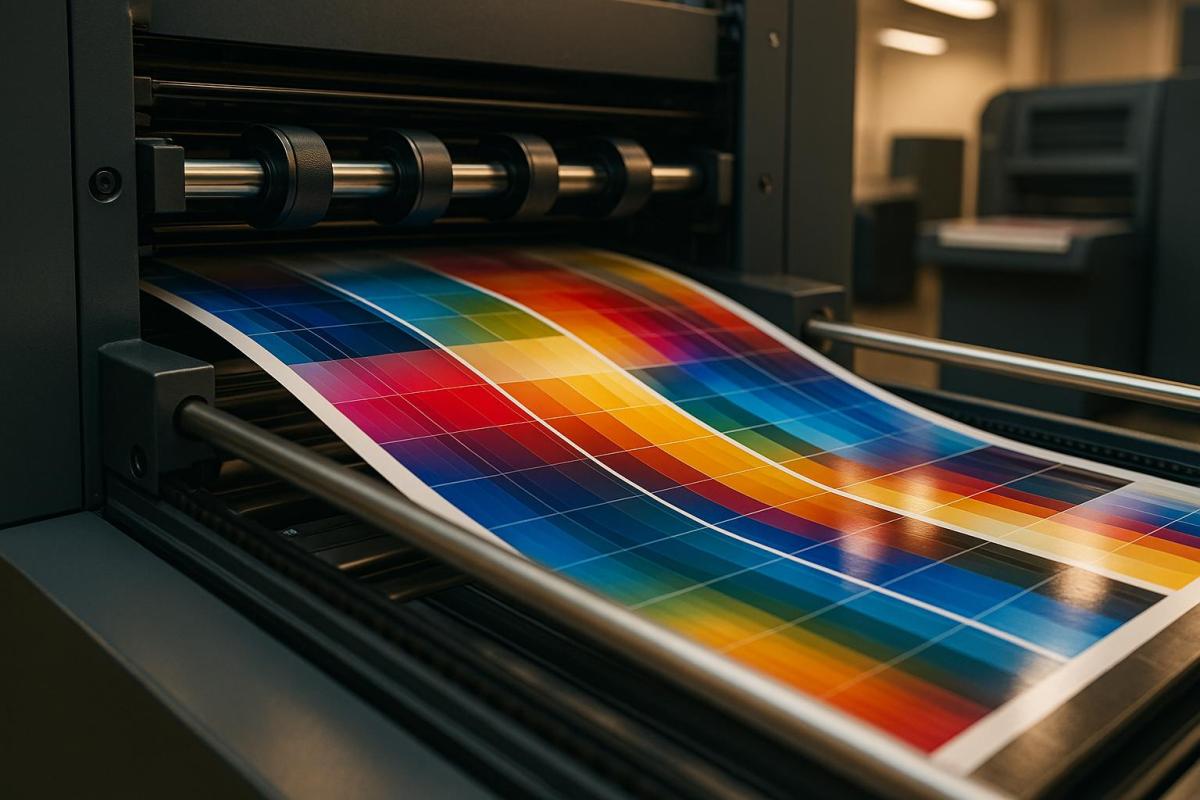
Want to make paper production more efficient and eco-friendly? Here’s how:
- Raw Material Optimization: Use alternative fibers like bamboo, hemp, and agricultural waste to cut raw material costs (50% of mill expenses) and reduce deforestation. These materials are easier to process and eco-friendlier but may require equipment upgrades.
- Advanced Recycled Pulp Processing: Recycling paper uses 60–70% less energy and water than virgin production. Technologies like enzymatic treatments and optical sorting improve quality but depend on strong recycling systems.
- Energy-Efficient Production: Renewable energy (solar, wind) and waste heat recovery can cut energy use by 20% and emissions by 24%. While upfront costs are high, long-term savings and environmental benefits make it worthwhile.
Quick Comparison:
| Method | Cost Impact | Environmental Benefits | Scalability | Challenges |
|---|---|---|---|---|
| Raw Material Optimization | High savings | Moderate | High | Equipment upgrades, material access |
| Advanced Recycled Pulp | Medium savings | High | Medium | Recycling system dependency |
| Energy-Efficient Production | Long-term savings | High | High | High initial investment |
Pro Tip: Start with raw material optimization for quick results, then adopt advanced recycling and energy-efficient methods for long-term gains.
Sustainable solutions and services for paper production | ANDRITZ

1. Raw Material Optimization
Making better use of raw materials is a key step toward improving resource efficiency in paper production. This strategy focuses on sourcing materials wisely – balancing cost-effectiveness with environmental responsibility – to create a solid path toward more sustainable practices.
One major shift in the industry is the move toward alternative fibers, which help ease deforestation pressures and cut down on carbon emissions. Materials like bamboo, hemp, agricultural waste, and post-consumer recycled fibers are leading the way in this transformation. For instance, in India, agricultural residues make up roughly 28% of the total feedstock used in the pulp and paper industry.
"For us, sustainable production is quite simply about doing more and creating better with less. It is about manufacturing graphic papers which are the natural choice for our customers because they take less resources to produce and have less impact through their production." – UPM Communication Papers
Why Alternative Materials Work
Alternative materials often offer chemical advantages over traditional wood sources. Agricultural residues like hemp and sugarcane bagasse, for example, contain more cellulose and less lignin compared to typical wood biomass. This makes processing easier and more efficient – agricultural waste-based pulps require less chlorine during bleaching, which is better for both the environment and production costs.
Cost Savings
Switching to recycled paper and agricultural residues doesn’t just help the planet – it can also save money. These materials are often more affordable to acquire and process while still maintaining high quality.
Processing efficiency is another area where savings can add up. For example, using xylanase pretreatment can cut chlorine dioxide usage by as much as 20% without sacrificing pulp quality. However, it’s worth noting that transitioning to alternative materials often requires significant investment in new machinery or the modification of existing equipment. Additionally, production speeds for non-wood fibers are slower – up to three times slower – than those for wood fibers.
Environmental Gains
The environmental benefits of optimizing raw materials are hard to ignore. Alternative fibers help reduce deforestation and lower overall carbon footprints. Bamboo, for instance, regenerates from its roots, grows quickly, and doesn’t require pesticides. Straw-based paper uses reclaimed straw and wheat, cutting down on crop burning and agricultural waste.
Other innovative materials also bring unique benefits. Cotton-based paper recycles textile scraps, keeping them out of landfills. Stone paper, made from calcium carbonate, eliminates the need for water, chlorine, and acids during production – though it does rely on petroleum-based processes.
The Role of Technology
Processing alternative fibers requires advanced technology to handle their unique properties. Non-wood materials often need specialized methods due to their distinct chemical compositions. Techniques like advanced fiber separation and contaminant removal systems are crucial for producing high-quality recycled pulp.
That said, non-wood materials come with their own challenges. They tend to drain more slowly on paper machines, which can raise operational costs and impact texture, durability, and print quality compared to wood-based paper. Additionally, the supply chains for materials like bamboo, hemp, and agricultural residues are less developed than those for wood pulp, making careful planning and equipment adjustments essential.
Scaling Up
Scaling raw material optimization depends on building strong supply chains and refining processing capabilities. Currently, forest wood still accounts for over 40% of the raw materials used in paper production globally, while agricultural residues make up less than 30%. This gap highlights the challenges of implementing non-wood materials on a larger scale.
However, growing market demand is pushing the industry forward. For example, the sustainable packaging sector is expected to hit $117.3 billion by 2025, offering strong incentives to invest in better raw material strategies. While production costs for non-wood paper packaging are still higher, advancements in technology and economies of scale are making these materials increasingly viable for widespread use.
At Miro Printing & Graphics Inc., we’ve adopted these raw material strategies to improve both cost efficiency and environmental outcomes, staying true to our commitment to sustainability.
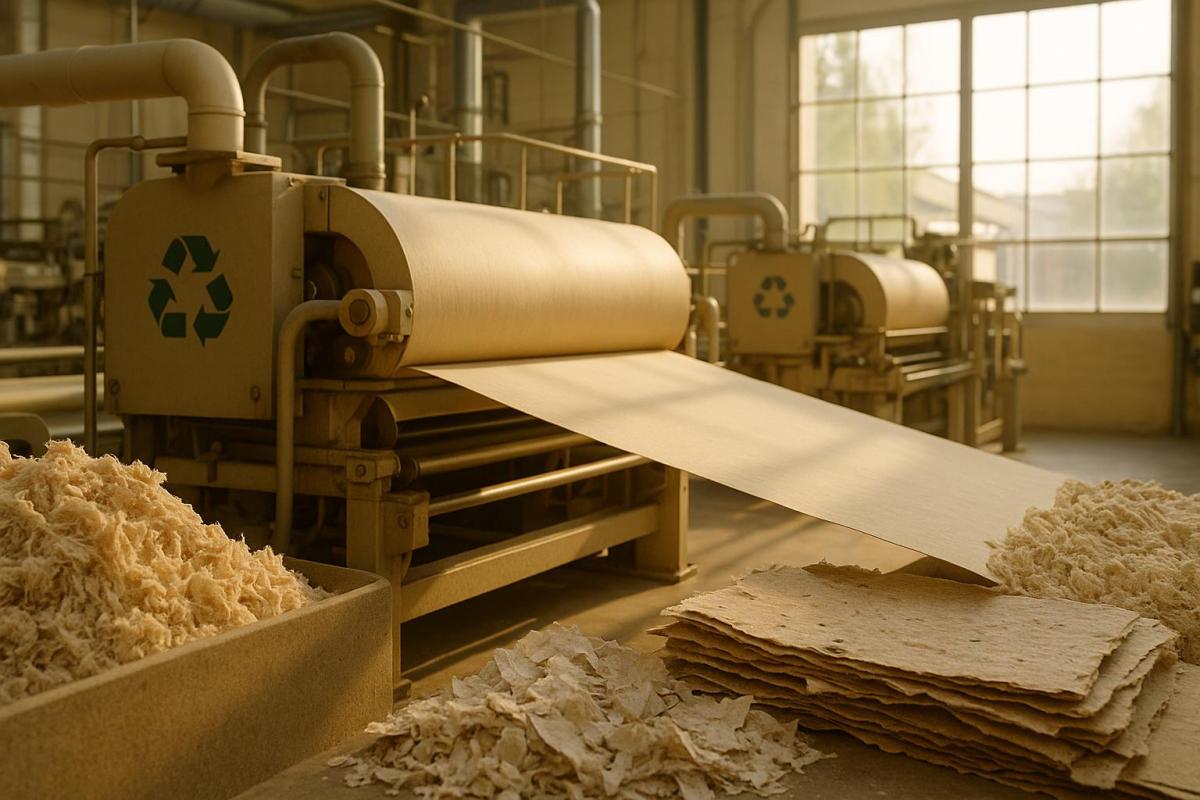
2. Advanced Recycled Pulp Processing
Advanced recycled pulp processing has changed the game when it comes to using waste materials. What was once considered low-grade feedstock is now being transformed into high-quality pulp that can rival – if not surpass – traditional virgin materials. This leap is thanks to cutting-edge technologies like enzymatic treatments, optical sorting, and precise contaminant removal. These methods ensure recycled pulp can meet the rigorous standards of wood-based materials. Additionally, processes like lignin-first and hemicellulose-first biorefining not only maintain the integrity of cellulose fibers but also enhance the overall strength of the pulp. These advancements even allow mills to reclaim valuable chemicals during production, which adds another layer of efficiency and cost-effectiveness.
Cost Savings
The economic advantages of advanced recycled pulp processing are hard to ignore. Producing recycled paper requires 22 million BTUs of energy per ton, compared to 32 million BTUs for virgin paper – a 31% energy reduction. Water usage is another area where costs are slashed. For instance, the Stora Enso Duluth Paper Mill saved over $700,000 in 2002 by implementing water reuse systems in its press section, cutting down on both freshwater use and wastewater treatment expenses. While the U.S. average water usage for pulp and paper mills is about 17,000 gallons per ton, leading kraft mills have reduced this to just 4,500 gallons per ton. Companies like Ecological Fibers have further trimmed operational costs by investing in advanced machinery and adopting renewable energy sources, such as hydroelectric and biomass power.
Environmental Impact
Recycled paper production is significantly more eco-friendly than its virgin counterpart. It generates 44% fewer greenhouse gases, produces 53% less wastewater, and creates 39% less solid waste. According to the EPA, recycling 46 million tons of paper in 2018 prevented over 155 million tons of CO₂ emissions. The use of biomass gasifiers provides another example of these environmental benefits. Metsä Fibre‘s Joutseno mill, for instance, began using producer gas in its lime kiln in 2013, cutting CO₂ emissions by 60,000 tons annually. Similarly, their Äänekoski mill uses an 85 MW gasifier to meet its lime kiln fuel demands, eliminating fossil CO₂ emissions altogether.
Water usage is another area where recycled fiber-based mills excel. While the pulp and paper industry typically uses 10 to 300 cubic meters of water per ton of production, advanced recycled processing systems – featuring closed-loop water systems and modern mechanical seals – operate at the lower end of this range.
Technology Requirements
The shift to advanced recycled pulp processing demands sophisticated equipment and expertise. Technologies like optical sorting and froth flotation are central to removing contaminants, while enzymatic treatments tackle impurities that older methods can’t address. The pulping process itself requires precise control over chemical concentrations, temperature, and timing to achieve both efficiency and high-quality output. Advanced water management systems are also essential. Closed-loop designs rely on meticulous filtration to manage impurities while minimizing freshwater consumption. The water management hierarchy prioritizes eliminating or reducing freshwater use, with direct reuse and recycling systems taking precedence before introducing new water.
Scalability
Scaling up advanced recycled pulp processing comes with its own set of challenges. One of the biggest hurdles is securing a steady supply of high-quality feedstock, especially as global paper consumption reached 500 million tons in 2021. With over half of that used for packaging, the demand for recycled materials often outpaces the capabilities of existing collection and sorting systems.
"The large variety in materials means robust sorting is required to enable advanced recycling processes with maximum recovery and value." – Dr. Thilo Becker, Senior Solution Manager, Tomra
Infrastructure is another sticking point. Many current initiatives are still in the pilot or demonstration phase rather than full-scale commercial production. Economic feasibility also varies by region. The U.S. and EU lead the way, thanks to supportive policies and well-established supply chains. Regulatory measures, like strict Extended Producer Responsibility (EPR) policies, are also driving manufacturers to adopt recycling and reuse practices. Automated sorting and pre-processing systems are increasingly becoming a necessity to achieve the scale required. Despite these obstacles, companies like Miro Printing & Graphics Inc. are already integrating advanced practices, reaping both cost and environmental rewards.
sbb-itb-ce53437
3. Energy-Efficient Production Methods
Energy-efficient production methods are transforming the way paper substrates are manufactured, cutting costs and emissions along the way. The pulp and paper industry ranks as the fourth-largest consumer of energy across all industries, accounting for nearly 6% of total industrial energy use and 2% of direct industrial CO₂ emissions. This makes improving energy efficiency a key focus for sustainable paper production.
Modern paper mills are increasingly turning to renewable energy as a core part of their strategy. Solar power and closed-loop recycling systems are now common features in many facilities. The economic case for renewables has strengthened dramatically – solar power costs dropped by 85% between 2010 and 2020, while onshore and offshore wind costs fell by 56% and 48%, respectively.
Thermal energy storage systems are playing a pivotal role in integrating renewable energy into production processes. These systems store excess electricity and waste heat, ensuring steady production while maximizing the use of renewable sources. For example, thermal storage systems support electrified steam production, significantly reducing reliance on fossil fuels.
Advanced manufacturing techniques are also making a difference. By focusing on waste heat recovery and process optimization, mills can achieve notable energy savings. Examples include using waste heat for pre-evaporating water in biomass, installing economizers to capture heat from flue gases, and employing thermocompressors to fine-tune steam conditions. This is crucial because equipment inefficiency alone accounts for 40% of energy loss in typical manufacturing facilities.
Cost Savings
The financial benefits of energy-efficient production are hard to ignore. Energy audits show that mills can cut energy use by about 20%, with up to half of these savings achievable without significant capital investment. Simple measures like insulating pipes, fixing leaks, and replacing outdated motors can yield quick returns. Notably, about 15% to 25% of energy in paper mills is lost to friction alone.
Additionally, renewable energy is proving to be a stable and cost-effective alternative. With 29% of global electricity already generated from renewables, projections suggest this could rise to 65% by 2030. Companies like Ecological Fibers showcase how refining production techniques to reduce waste and energy use can lead to significant cost savings while maintaining high product standards.
Boilers and electricity generation account for 32% of energy losses, while distribution contributes another 28%. Tackling these inefficiencies not only reduces costs but also positions mills for long-term financial stability, especially as renewable energy prices remain less volatile than fossil fuels.
Environmental Impact
The environmental benefits of energy-efficient production methods are equally compelling. By switching to renewable energy sources, paper mills drastically cut CO₂ emissions and reduce their dependence on fossil fuels. Since energy production is the largest contributor to greenhouse gas emissions in the pulp and paper industry, these changes have a profound impact.
These methods also align with circular economy principles, emphasizing waste reduction, material reuse, and improved recyclability. Considering that the pulp and paper industry consumes 33–40% of all industrial wood traded globally, such practices are essential.
Air quality improvements are another major advantage. Reduced air pollution from renewable energy use leads to better public health outcomes, creating benefits that extend far beyond the mills themselves.
"It’s time to stop burning our planet, and start investing in the abundant renewable energy all around us." – António Guterres, United Nations Secretary-General
Innovative approaches like converting waste materials, such as bark and sludge, into energy products further reduce fossil fuel reliance while adding value to what would otherwise be discarded.
Technology Requirements
Implementing energy-efficient production methods demands advanced technology and careful planning. For instance, AI-powered predictive maintenance systems help reduce machine downtime and material waste. High-efficiency drying processes are also critical for cutting energy use during production.
Digital tools are increasingly vital for optimizing energy use. Automation systems allow mills to monitor and adjust energy consumption in real time, identifying inefficiencies and ensuring optimal performance. These systems can work seamlessly with renewable energy sources, ensuring consistent production quality while maximizing efficiency.
Thermal management systems are another key component. Power-to-heat solutions with integrated thermal energy storage are essential for balancing the variable nature of renewable energy with the constant heat and steam demands of paper production. These systems require precise engineering to handle the complexities of renewable energy integration.
Comprehensive monitoring and control infrastructure is also crucial. From motor control systems to heat recovery networks, mills need technology that tracks energy use across all production stages, identifies inefficiencies, and automatically adjusts operations to improve performance.
Scalability
Scaling energy-efficient production methods depends on several factors, including regional conditions and mill size. The potential for widespread adoption is significant – greenhouse gas emissions could be reduced by 10% to 30% with minimal investment by addressing simple inefficiencies.
However, scaling requires substantial infrastructure development. While renewable energy could decarbonize 90% of the power sector by 2050, the paper industry needs specialized systems to integrate these sources effectively. The momentum is evident, with global clean energy investments projected to exceed $2 trillion in 2024.
Regional differences also play a role. Access to renewable energy, regulatory frameworks, and existing infrastructure vary widely. For example, geothermal plants operate with a capacity factor of 70–80%, while wind and solar plants range from 16–30%. Economic incentives further support the transition, as renewable energy investments generate three times more jobs than fossil fuel investments.
As technology costs continue to decline and efficiency improvements accumulate, mills that embrace energy-efficient practices will not only enhance their operational and environmental performance but also position themselves for future growth. These advancements are key to building a greener supply chain – an effort that aligns with the values upheld by Miro Printing & Graphics Inc.
Advantages and Disadvantages
Choosing the right paper substrate method involves weighing the costs, environmental impacts, and scalability of each option. This decision is crucial for mills and printing companies, such as Miro Printing & Graphics Inc. (website), as they work to balance financial goals with sustainability efforts.
| Method | Advantages | Disadvantages | Cost Impact | Environmental Benefits | Scalability |
|---|---|---|---|---|---|
| Raw Material Optimization | • Cuts raw material costs, which make up about 50% of operating expenses • Boosts productivity quickly • Improves product quality control |
• Requires precise raw material selection • Relies on access to high-quality materials • May need equipment upgrades |
High – focusing on raw materials can lead to significant savings | Moderate – reduces waste but still depends on virgin materials | High – applicable to mills of various sizes |
| Advanced Recycled Pulp Processing | • Uses 60–70% less energy than virgin production • Reduces municipal solid waste challenges • Consumes less water |
• Quality can degrade through downcycling • Susceptible to contamination • Success depends on local recycling infrastructure |
Medium – energy savings help offset costs | High – addresses waste concerns, as paper accounts for 25% of municipal solid waste | Medium – varies based on regional recycling systems |
| Energy-Efficient Production | • Lowers energy use and greenhouse gas emissions • Provides long-term cost stability through reduced energy expenses |
• Requires significant initial investment • Involves complex technology integration • Relies on steady renewable energy supplies |
Variable – upfront costs are offset by long-term savings | High – reduces energy consumption and emissions significantly | High – achievable with proper planning and investment |
The table highlights the trade-offs of each method. Let’s look closer at how these approaches compare in terms of cost, environmental impact, and scalability. For instance, the PT. Aspex Kumbong mill’s 2023 grade conversion rebuild with Valmet‘s OptiFlo Layering Gap headbox and Papelera de Brandia’s planned 2025 investment in OptiFlo Fourdrinier headbox technology have both demonstrated improvements in production efficiency and product quality.
Environmental Impact
The environmental benefits vary significantly between these methods. Advanced recycled pulp processing excels in waste management, especially since paper products make up roughly 25% of municipal solid waste. On the other hand, energy-efficient production directly addresses energy consumption and emissions, though it requires substantial infrastructure changes. Recycling paper also conserves energy compared to virgin production, showcasing the broader lifecycle advantages of these methods.
Scalability and Implementation
Scalability depends on the method and the resources available. For example, raw material optimization can deliver fast results with minimal investment, making it a practical choice for many mills. Energy-efficient production, however, demands more planning and higher upfront costs but offers long-term benefits as renewable energy becomes more affordable. Advanced recycled pulp processing sits in the middle, requiring careful attention to feedstock quality and local recycling systems.
Conclusion
Bringing these strategies together creates a cycle of ongoing improvement, from sourcing raw materials to the final stages of production. By combining these efforts, paper substrate efficiency can be significantly boosted. Optimizing raw materials not only results in immediate cost savings but also scales effectively. Meanwhile, advanced recycled pulp processing reduces energy use compared to traditional methods reliant on virgin materials, all while cutting down on paper waste. Maintaining strict quality control further ensures minimal contamination risks.
Energy-efficient production methods also deliver lasting benefits. For example, since 2005, members of the AF&PA have reduced greenhouse gas emissions by over 24% and improved energy efficiency by 13%. As renewable energy becomes more accessible and affordable, these practices present a practical way to lower operational costs while minimizing environmental impact. Together, these advancements provide a strong foundation for businesses to gain a competitive edge in sustainable printing.
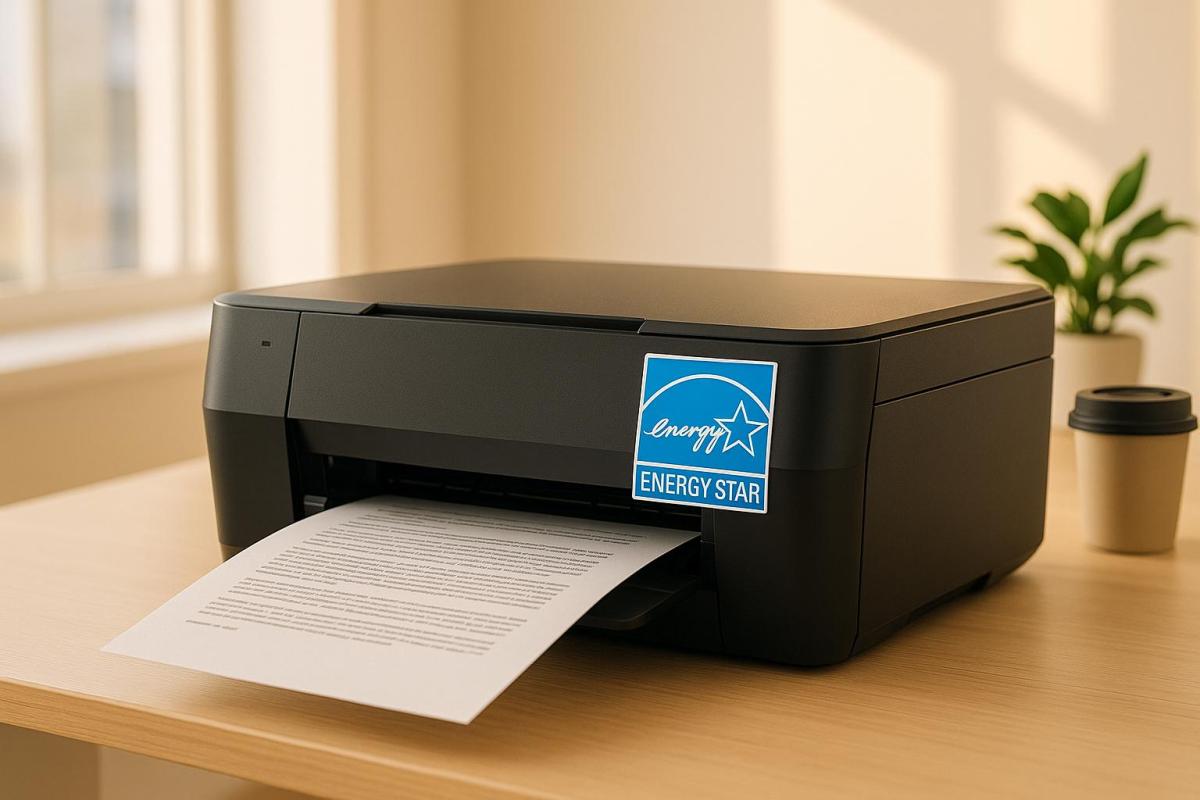
For companies like Miro Printing & Graphics Inc., adopting these strategies offers clear benefits. With 55% of consumers willing to pay more for eco-friendly brands and 84% avoiding businesses with poor environmental practices, implementing sustainable methods – like using recycled paper, default duplex printing, and energy-efficient multifunction devices – can help retain customers and improve market positioning.
A step-by-step approach works best for businesses looking to adopt these practices. Start with raw material optimization to achieve immediate cost savings. Then, incorporate advanced recycled pulp processing to enhance environmental credibility. Finally, invest in energy-efficient production methods to ensure long-term sustainability. This gradual strategy allows businesses to control costs while making measurable progress toward sustainability goals.
FAQs
What are the key challenges and factors to consider when switching to alternative fibers in paper production?
Switching to non-wood fibers for paper production isn’t without its challenges. One of the biggest obstacles is building a steady and dependable supply chain for these alternative fibers. This often means collaborating with agricultural industries and investing in specialized processing facilities, which can take time and resources to establish.
There are also technical hurdles to consider. Non-wood fibers can behave differently during production, leading to issues like slower drainage or reduced machine speeds. These factors can impact overall production efficiency and may require adjustments to existing workflows.
Energy and resource consumption is another key consideration. While some alternative fibers might use less water and fewer chemicals during manufacturing, they often demand changes to equipment or processes, such as grinding, breaking down fibers, or managing water systems. Finding the right balance between sustainability and cost-efficiency is crucial to making this transition work.
How do modern recycled pulp processing technologies help save costs and protect the environment?
Modern recycled pulp processing technologies are transforming the way industries handle paper waste, offering a smarter and more resource-conscious approach. By converting discarded paper into high-quality pulp, these methods significantly cut down the need for virgin fibers. This not only helps preserve natural resources but also slashes production costs – a win-win for businesses and the planet.
What’s more, these technologies use less energy and produce fewer carbon emissions compared to traditional virgin pulp production. This makes it easier for companies to achieve their sustainability targets while reducing their overall environmental footprint. By embracing these innovations, industries are contributing to a circular economy that prioritizes efficient resource use and minimizes waste, delivering both financial savings and ecological advantages.
What are the upfront costs for paper mills to adopt energy-efficient technologies, and how can these lead to long-term savings?
Upfront expenses for incorporating energy-efficient technologies in paper mills generally fall between $50,000 and $200,000. These costs often cover upgrades such as renewable energy installations, modernized equipment, and thorough energy audits. While the price tag might feel hefty at first glance, the long-term financial benefits can be substantial.
By cutting down on energy use and fine-tuning operations, paper mills can save up to $100,000 or more each year. For instance, switching to energy-efficient motors or implementing advanced pulping systems can significantly reduce utility bills while boosting operational efficiency. Over time, these investments not only lead to cost savings but also help lessen the environmental footprint, making them a practical and forward-thinking choice.
Related posts
- Recycled vs. Virgin Paper: Cost Breakdown
- Cost-Saving Tips for Sustainable Paper Choices
- Ultimate Guide to Recycling in Printing
- Guide to Eco-Friendly Printing Substrates
https://app.seobotai.com/banner/banner.js?id=684f656c5559d477e7593930