When it comes to printing, ICC profiles are the backbone of color accuracy. They ensure that the colors you see on your screen match what’s printed – whether it’s for offset or digital printing. Here’s what you need to know:
- ICC Profiles: They standardize how devices handle color, converting between color spaces (like RGB to CMYK).
- Offset Printing: Relies on standardized profiles (e.g., GRACoL, FOGRA) to manage predictable factors like dot gain and ink density. Ideal for large-scale, consistent print runs.
- Digital Printing: Requires device-specific profiles tailored to the printer, media, and ink. Profiles must be updated regularly due to machine variability.
- Key Differences: Offset uses universal profiles for consistency, while digital adapts to specific devices and substrates for flexibility.
Quick Tip: For projects involving both methods, align digital proofs with offset standards (e.g., GRACoL) for consistent results.
Accurate color reproduction starts with the right ICC profile. Whether you’re printing 10,000 brochures or 500 personalized mailers, understanding these profiles ensures reliable results every time.
ICC Profiles Explained
How Offset Printing Uses ICC Profiles
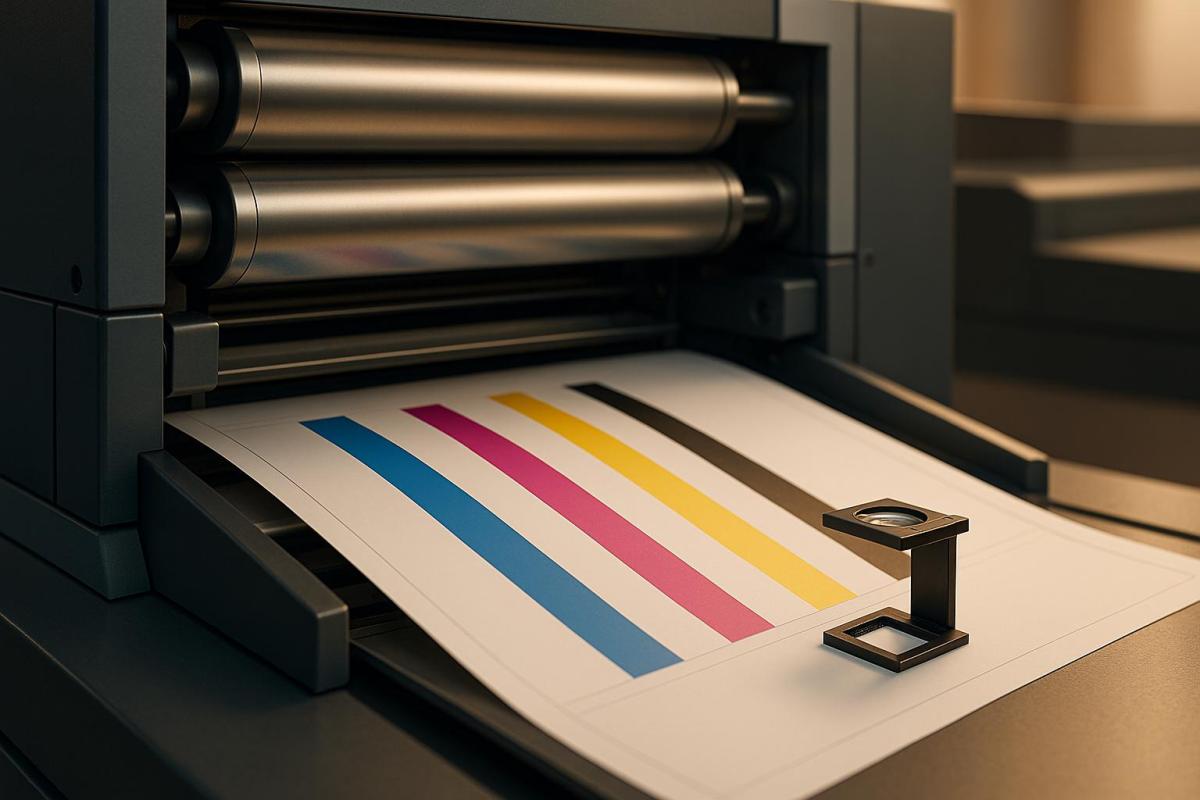
Offset printing heavily relies on ICC profiles to ensure precise color reproduction, particularly when translating digital designs into physical prints. These profiles play a key role in defining how CMYK inks interact with various paper types. For instance, in North America, the GRACoL (General Requirements for Applications in Commercial Offset Lithography) standard is widely used for coated papers, while European printers often turn to FOGRA standards like FOGRA39 for similar applications. These profiles establish parameters such as ink densities and dot gain targets, which typically range from a 16% to 25% tonal value increase. By adhering to these standards, offset printing achieves consistent and high-quality results.
Standard Profiles in Offset Printing
Standard ICC profiles, such as GRACoL and FOGRA, are essential for maintaining color accuracy across large-scale print runs. These profiles provide predefined characterizations for CMYK inks on different substrates. For example, the GRACoL 2013 profile specifies L_a_b* values for various dot areas, ensuring presses are calibrated for high-volume jobs. They also account for variations in paper types – whether coated, uncoated, or matte – by defining distinct tonal value increase curves. Research by FOGRA, which contributed to the ISO 12647-2 standard, involved analyzing a wide range of presses and paper types to create reference data for profiles like "ISO Coated.icc". Many offset printing facilities maintain multiple ICC profiles tailored to different paper categories, allowing for predictable results when switching between substrates.
Dot Gain and ICC Profiles
Dot gain, the phenomenon where ink halftone dots spread on paper, significantly impacts print quality in offset printing. For instance, a 50% dot may appear as 65–75% on the final print, resulting in darker colors and reduced contrast. If left uncorrected, this can cause color shifts of up to 10 Delta E. ICC profiles address this issue by embedding dot gain compensation curves, which pre-adjust CMYK values to achieve the desired appearance. Studies show that offset printing on coated paper delivers optimal results when ICC profiles target a 16% dot gain at midtones. These profiles are typically created using IT8/7.4 charts printed under controlled conditions, ensuring precise color management.
Creating Custom ICC Profiles for Offset
While standard profiles work well for most jobs, custom ICC profiles become indispensable when dealing with unique printing conditions. These might include using recycled paper, specialty coatings, non-standard inks, or when exact brand color matching is required. Creating a custom profile involves printing a test chart (such as TC 2.9) under standardized conditions, measuring hundreds of color patches with a spectrophotometer, and using specialized software like ProfileMaker Pro to generate a profile tailored to specific equipment and materials. Printing companies, such as Miro Printing & Graphics Inc., often maintain multiple custom profiles for each press to accommodate various paper grades. This approach ensures consistent color accuracy across both offset and digital printing workflows. Up next, we’ll explore how digital printing adapts ICC profiles to its distinct requirements.
How Digital Printing Uses ICC Profiles
Digital printing takes a different approach to ICC profiles compared to offset printing. Each digital press requires its own profile tailored to the specific combination of device, consumables, and media being used. The variety of digital printing technologies – such as electrophotographic toner, liquid toner, and inkjet with variable droplet sizes – results in unique color gamuts, densities, and dot behaviors, even when processing identical CMYK values. A profile that works well on one machine might cause hue shifts or contrast issues on another, which can be a big problem for projects like packaging or photo books that demand precise color accuracy. This contrasts with offset printing, where a single GRACoL or FOGRA profile often works across multiple presses using the same paper type. Because of this variability, digital printing requires a more customized ICC profile strategy, which we’ll explore further.
These profiles are primarily housed in the RIP (Raster Image Processor) or printer driver, where they manage the conversion of job data into the printer’s native color space and control ink application. Before creating a profile, operators must calibrate the printer for a specific media and print a profiling target – often containing thousands of color patches on a single test sheet. A spectrophotometer measures these patches, and profiling software generates an ICC profile that includes details like color mapping, dithering, ink limits, and black generation. In professional U.S. print shops, it’s common to maintain multiple profiles for each device, labeled with names like "Press_A_Gloss_100lb_v3", allowing for quick adjustments between different substrates or quality modes.
Device-Specific Profiles in Digital Printing
The need for device-specific ICC profiles arises from the wide range of printing technologies and materials in use. For instance, one study created 43 ICC profiles to account for various press and substrate combinations in a controlled test. Large-format and signage shops often manage dozens of profiles for a single printer to accommodate different materials like vinyl, banners, textiles, and specialty media – each with unique absorption, white point, and surface texture characteristics.
Digital presses tend to drift more quickly than offset machines due to factors like toner cartridge replacements, fuser wear, or changes in environmental conditions. To maintain consistency, many shops recalibrate daily and re-profile whenever significant changes occur – such as introducing a new paper type or following a service call. U.S. facilities that use a mix of toner and inkjet technologies often organize their profile libraries by press and stock, ensuring consistent results across devices and locations. While manufacturer-provided profiles might suffice for routine office tasks with recommended media, custom profiles based on actual device measurements deliver tighter color control and improved gray balance for projects where accuracy is critical, like branded materials or photographic prints.
Color Management Benefits in Digital Printing
Digital ICC workflows streamline setup times and enable quick iterations, as they eliminate the need for plates and allow profile adjustments to be handled through software. Operators can switch profiles by simply selecting a different media or press preset in the RIP, making it easier to meet tight deadlines for short-run brochures, event materials, or trial packaging. If color accuracy is off, teams can recalibrate and re-proof quickly, avoiding the time and material waste associated with re-inking an offset press.
This flexibility is especially beneficial for variable-data printing and short runs. Once the RIP applies the correct profile, it ensures consistent brand colors and images across varying content without requiring plate changes. This capability makes digital printing ideal for personalized postcards, direct-mail campaigns, and other low-volume projects where offset printing would be too expensive or inflexible. To ensure consistency across multiple digital devices, many facilities create individual ICC profiles for each machine and map them to a common reference space, like GRACoL or a house standard, through the color server. While perfect color matching across different technologies isn’t always feasible due to their varying gamuts, this approach produces results close enough for most business needs.
Common Problems and Solutions
ICC profiles play a key role in addressing substrate-related color shifts by encoding the unique tone reproduction and color gamut of each substrate-printer combination. This allows the RIP to make adjustments, such as compressing shadows on uncoated stocks with low dynamic range or enhancing chroma on glossy papers.
Other common challenges include device drift, banding-related inconsistencies, over-inking on certain stocks, and discrepancies between on-screen and printed colors. Properly setting total area coverage (TAC) and black generation within profiles can prevent issues like muddy shadows or drying problems on difficult media. To improve screen-to-print matches, shops often standardize monitor calibration – using settings like D50 lighting at 120 cd/m² – and ensure designers work with the same ICC profiles that will be applied in the RIP. Full-service printers, such as Miro Printing & Graphics Inc. in Hackensack, NJ, frequently assist clients with selecting profiles, providing hard-copy proofs, and making iterative adjustments to ensure that soft proofs closely match the final prints, even on tight deadlines. These practices lay the groundwork for refining ICC profiles, which will be discussed next.
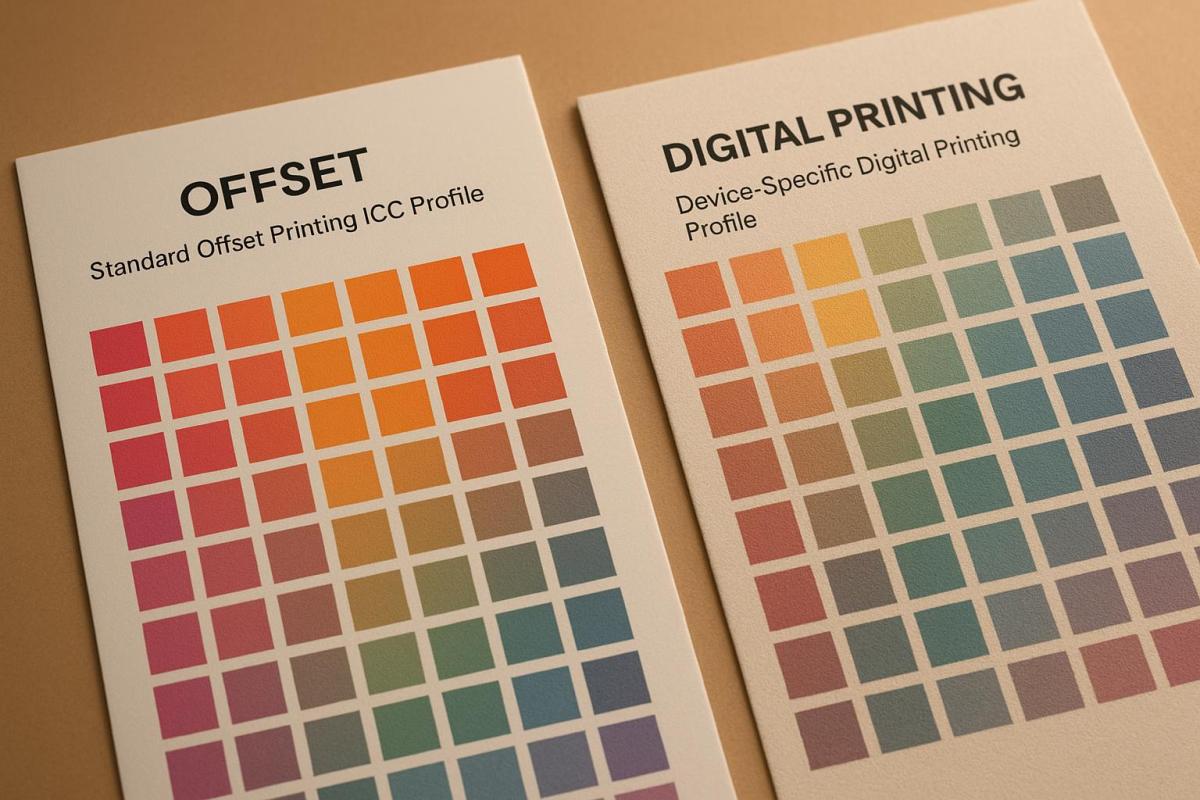
Main Differences in ICC Profile Usage

Offset vs Digital Printing ICC Profile Comparison Chart
Offset printing relies on ICC profiles built around standardized conditions – like GRACoL or FOGRA – to predict CMYK output based on specific press setups, inks, and substrates. This predictability helps designers maintain consistent brand colors. But when it comes to digital printing, the approach to profile management takes a different path.
Digital printing requires machine-specific calibration. The profiles here are tailored to individual devices, reflecting the unique behavior of each printer – whether toner, inkjet, or liquid toner. Factors like droplet size, screening techniques, and RIP (Raster Image Processor) settings all come into play. One study even created 43 profiles to manage various combinations of presses and substrates.
Another key difference lies in how dot gain and tone reproduction are handled. Offset profiles are designed to address predictable dot growth, while digital profiles focus on calibrating the engine itself. Adjustments might involve laser exposure, droplet size, or screening algorithms, and since digital systems can recalibrate over time, profiles need regular verification. Operators often use tools like curves, density targets, and controlled conditions to manage dot gain effectively.
When it comes to repeat jobs, offset presses offer exceptional consistency once calibrated to a standard. However, they are sensitive to variables like press setup, operator expertise, ink density, water balance, and paper batch variations. Digital printing, on the other hand, faces challenges like engine drift caused by factors such as drum wear, humidity, and calibration cycles. This means frequent verification is essential to maintain quality. The table below highlights the key differences between these two printing methods.
Side-by-Side Comparison
| Aspect | Offset Printing | Digital Printing |
|---|---|---|
| Profile Type | Standardized, condition-specific (e.g., GRACoL, FOGRA) tied to press, ink, and paper | Device- and paper-specific, often created per engine |
| Key Factors | Dot gain, TAC (300–330%), plate curves, ink film thickness | Linearization, ink limits, droplet size, media absorption |
| Creation Process | Production-like prints using spectrophotometers; up to 43 profiles per study | Test charts with thousands of patches and software calibration |
| Color Space | Primarily CMYK | CMYK or RGB |
| Color Accuracy | Excellent for brand consistency and spot colors; ideal for long runs | High accuracy for most uses, though prone to slight day-to-day variation |
| Process Requirements | Requires controlled pressroom conditions, stable consumables, and skilled operators | Needs regular calibration, proper profile selection, and maintenance |
| Repeat Job Consistency | Extremely high once dialed in but sensitive to setup and operator skill | Generally consistent with proper calibration, though more affected by engine drift |
For projects requiring both offset and digital printing – such as digital proofs followed by an offset production run – many U.S. print shops use an offset standard like GRACoL as the reference. The digital press is then configured to emulate this standard through its device profile. This method ensures that digital proofs align closely with the final offset prints. Full-service facilities like Miro Printing & Graphics Inc. in Hackensack, NJ, which operate both types of equipment, can handle this process seamlessly, ensuring consistent color across all stages of production.
sbb-itb-ce53437
How to Optimize ICC Profiles for Each Method
Getting accurate color reproduction means using workflows that are specific to the printing method – offset or digital – as each has its own challenges and requirements.
Offset Printing Best Practices
Start by adopting a formal press standard, like GRACoL 2013 for coated stocks or SWOP for certain web publications. These standards provide target curves for dot gain and ink density. Fine-tune your plate curves, ink keys, and water balance until the Total Ink Coverage (TAC) aligns with the standard. For sheetfed printing, TAC typically falls between 300% and 330%.
Print a profiling test chart – such as IT8 or TC 2.9 – under stable production conditions. Use a spectrophotometer to measure the chart, and create your ICC profile using professional-grade software. To maintain consistency, minimize the time between profiling and the final print run. Keep production conditions stable by controlling temperature and humidity, using consistent ink batches, verifying paper lots, and documenting make-ready settings.
Include a color bar or control strip on every job. These allow you to measure solid densities and TVI (tone value increase) and make corrections before committing to the full run. If substrates, inks, blankets, or fountain solutions change, re-profile to ensure your color management stays accurate. For jobs involving specialty stocks or inks, custom profiles tailored to those conditions can improve skin tones and neutral grays compared to generic profiles.
Offset printing relies on standardized profiles for consistency, but digital printing requires a more customized approach.
Digital Printing Best Practices
Digital printing demands device-specific profiles for each printer, resolution, and substrate combination. Begin by running the manufacturer’s calibration routine, which typically includes auto-gradation, linearization, and density targets. Then, print and measure a profiling chart using the actual stock you’ll be printing on. Because digital presses can drift due to factors like drum wear or humidity, recalibrate regularly – daily or weekly, depending on how heavily the press is used.
Use your RIP (Raster Image Processor) software to adjust gray balance and neutralize K-only and CMY ramps. This step ensures a neutral gray foundation, which is critical for smooth ICC conversions and reducing color casts. Centralize all profile usage and rendering intent decisions within the RIP, and disable conflicting color settings in your design software to maintain consistency across jobs. Pay attention to the device’s total ink or toner limits and smoothing options to avoid issues like mottling or bronzing, which can ruin even the best profiles.
To simplify workflow, standardize on a small selection of house stocks – such as gloss coated, matte coated, and uncoated media – and create high-quality profiles for each. Assign clear, consistent names to profiles (e.g., "DP1_GlossText_300dpi.icc") and document which profile corresponds to each stock SKU to prevent errors.
Selecting and Implementing ICC Profiles
When it comes to achieving precise color reproduction, choosing and applying the right ICC profiles is a must for both offset and digital printing. The process involves aligning your print workflow with the appropriate profile based on the print method, media, and target color standard (like GRACoL for U.S. sheetfed printing). Since CMYK output varies depending on the specific press, ink, and paper combination, a single profile simply won’t work for both offset and digital printing equally well.
How to Choose the Right ICC Profile
For offset printing, start with widely recognized industry-standard profiles, such as GRACoL for coated papers. Custom profiles should only be used when dealing with non-standard substrates or when precise brand color matching is required.
In digital printing, device-specific profiles provided by the printer manufacturer are the go-to option. If you’re uncertain, ask your print provider for the recommended CMYK profile. Many print shops offer either custom profiles or well-defined standard profiles tailored to their equipment.
Once the correct profile is chosen, managing it effectively with the right tools becomes the next step.
Software and Tools for Managing ICC Profiles
Creating an ICC profile begins with printing a test chart, like the TC 2.9, which includes between 1,000 and 2,000 color patches, under stable production conditions. A spectrophotometer is then used to measure the test chart, and specialized software generates the profile. For applying profiles, tools like Adobe Creative Suite (Photoshop, InDesign, Illustrator) allow for profile assignment and color conversion, while RIP software handles calibration, linearization, and setting ink limits for output devices. Additionally, resources like the ECI website provide downloadable profiles for common ISO standards.
Full-service print shops, such as Miro Printing & Graphics Inc. in Hackensack, NJ, often streamline this process by maintaining unified color management for both offset and digital printing. They supply clients with the correct profiles for specific press-and-paper combinations, ensuring consistent results across various printing methods.
Next, we’ll look at how these profiles are applied during production to maintain seamless color accuracy.
Conclusion
Throughout this discussion, we’ve explored how the unique challenges of offset and digital printing influence the use of ICC profiles. These profiles act as a bridge, translating design files into accurate printed colors. In offset printing, standardized profiles like GRACoL or ISO Coated are commonly used to manage predictable factors such as dot gain and total area coverage. On the other hand, digital printing requires device-specific profiles to account for variables like ink limits and media absorbency. These distinct approaches ensure consistent results, whether for high-volume or short-run jobs.
By applying the best practices outlined earlier, these tailored methods help maintain color consistency from design to final print. For offset printing, creating custom ICC profiles is especially useful when working with non-standard papers or when precise brand colors are essential. In digital printing, starting with device-specific profiles – often provided by the printer manufacturer or built into RIP software – helps achieve both color accuracy and operational efficiency.
A great example of this in action is Miro Printing & Graphics Inc. in Hackensack, NJ. Their unified color management strategy spans both offset and digital printing. With an in-house design team crafting custom ICC profiles for specific press and paper combinations, they deliver consistent results across a variety of projects, from large offset runs like 10,000 brochures to smaller, personalized jobs like 500 mailers.
Understanding these differences and selecting the right ICC profile for your project ensures reliable and repeatable color accuracy, no matter the print job.
FAQs
How do ICC profiles help achieve accurate colors in offset and digital printing?
ICC profiles are essential for achieving accurate and consistent color reproduction in both offset and digital printing. They act as a bridge, translating colors between digital files and printers while considering the unique color characteristics of each device.
When you use ICC profiles, the colors in your final print are more likely to align with the original design, no matter which printing method is used. This is crucial for maintaining brand integrity and ensuring top-notch results across various printing technologies.
Why do digital printers need custom ICC profiles for accurate colors?
Custom ICC profiles play a key role in digital printing, ensuring that the colors in your design are faithfully reproduced in the final print. Since every digital printer has its own unique way of handling color, these profiles serve as a bridge, aligning the printer’s output with the exact color values you intended.
Without a custom ICC profile, you risk colors looking inconsistent or straying far from what you envisioned – especially when dealing with intricate designs or strict brand color guidelines. A tailored profile helps you maintain color consistency and achieve top-notch results that stay true to your original design.
How does ICC profile management differ between offset and digital printing?
When it comes to ICC profiles, the main distinction between offset and digital printing lies in their application and management.
Offset printing demands customized ICC profiles that are fine-tuned to match specific press conditions. Achieving accurate color reproduction involves calibrating for factors like the type of ink, the paper being used, and the press settings. This meticulous process ensures the final print aligns with the desired color standards.
On the other hand, digital printing relies on pre-set ICC profiles tailored to the specific printer model. These profiles account for the printer’s unique features, allowing for quicker setup and consistent color results across various projects. This makes digital printing a go-to choice for jobs that need a fast turnaround without compromising on color reliability.
Related Blog Posts
- How to Adjust Colors for Offset Printing
- 5 Common ICC Profile Issues and Fixes
- 5 Steps to Use ICC Profiles for Accurate Colors
- Offset vs. Digital: Fogra Color Accuracy
https://app.seobotai.com/banner/banner.js?id=693debbbdf12e5e3fea88f72