Your print quality heavily depends on substrate properties. The top 10 nanometers of a substrate’s surface determine whether ink adheres successfully or fails due to peeling, uneven coverage, or weak bonding. Key factors include:
- Surface Energy: Ink must spread (not bead) on a substrate. For example, water-based inks struggle with low-energy surfaces like polyethylene (28–32 mN/m) without treatment.
- Surface Roughness: Rough textures can improve adhesion by creating physical anchors, but incomplete ink penetration weakens bonds.
- Surface Chemistry: Additives, contamination, or oxidation can interfere with bonding, even on high-energy materials like stainless steel.
Failures occur at three levels:
- Adhesive Failure: Ink separates cleanly from the substrate, often due to low surface energy or contamination.
- Cohesive Failure: Ink splits internally, indicating weak ink structure.
- Substrate Failure: The substrate itself tears, showing the bond exceeds the material’s strength.
To improve adhesion:
- Chemical Treatments: Plasma or flame treatments increase surface energy by adding polar chemical groups.
- Mechanical Treatments: Sandblasting adds texture for better mechanical anchoring.
- Pretreatments: Align surface energy with ink type (e.g., water-based inks need 45–48 dynes/cm).
Proper surface preparation ensures ink adhesion, better print quality, and durability. Always test surface energy and address contamination before printing.
The Science Behind Surface Pretreatments for Adhesion to Plastics – Adhesives, Coatings, Inks
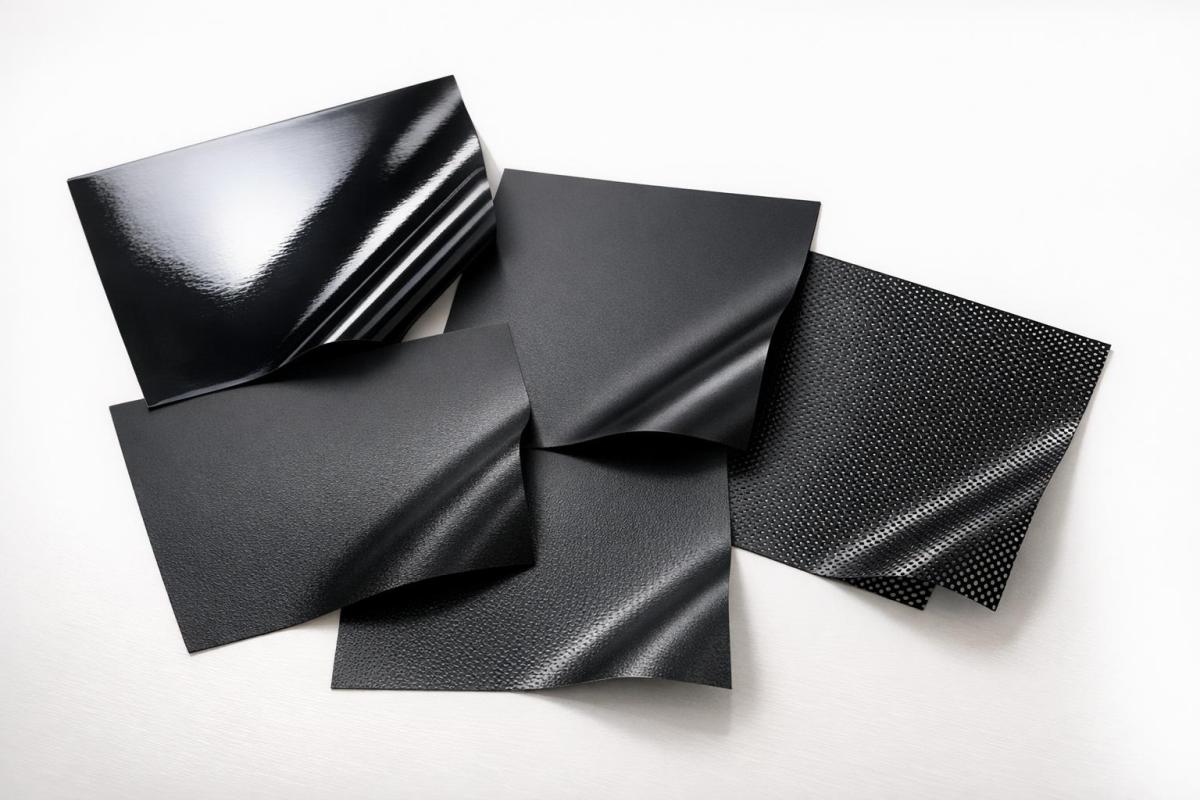
Types of Adhesion Failure and What They Mean

Three Types of Adhesion Failure in Printing: Visual Identification Guide
Understanding where adhesion fails – whether at the interface, within the ink, or in the substrate – helps pinpoint the root cause of print quality issues. Spotting the failure location can often be done with a simple visual check, but more challenging cases may require advanced tools like SEM (Scanning Electron Microscopy) or XPS (X-ray Photoelectron Spectroscopy) to identify the exact problem. Let’s break down the main types of adhesion failure and what they reveal about your printing process.
Adhesive Failure: Separation at the Interface
Adhesive failure happens when the ink separates cleanly from the substrate, leaving the surface spotless with no ink residue. This type of failure signals that the bond between the ink and the substrate was the weakest link.
The most common cause? Poor wetting. If the substrate’s surface energy is too low or contaminated with substances like silicone or surfactants, the ink won’t form a strong chemical bond. Variations in surface energy also play a key role in adhesion performance.
"Chemistry and roughness at the bonding interface can compromise the adhesion of a system with good viscoelastic properties."
– Michaeleen Pacholski, Ph.D., The Dow Chemical Co.
When the interfacial bond is stronger than the ink’s internal strength, the failure shifts to a different mode: cohesive failure.
Cohesive Failure: Internal Material Breakdown
Cohesive failure occurs when the ink or adhesive splits internally, leaving behind ink residue on both the substrate and the tool used to remove it. This failure type suggests that the interfacial bond is solid, but the ink’s internal structure is weak.
The root cause often lies in the ink’s formulation – issues like insufficient curing or inadequate crosslinking can compromise its strength. Interestingly, the energy required to cause cohesive failure is far greater than the theoretical surface energy because most of it is absorbed through deformation of the ink’s bulk material.
But if both the adhesive and ink remain intact, the substrate itself might be the problem.
Substrate Failure: When the Material Breaks
Substrate failure happens when the substrate tears or breaks before the adhesive bond gives way. In these cases, fragments of the substrate – like paper fibers or bits of cardboard – stick to the removed ink. This indicates that the bond strength exceeds the structural integrity of the substrate.
For example, recycled materials like paper or corrugated cardboard often exhibit weaker adhesion due to poor fiber quality rather than surface chemistry issues. In heavy-duty applications, substrate failure shows that the bond is stronger than the material itself.
| Failure Type | What You See | What It Means | Weakest Link |
|---|---|---|---|
| Adhesive | Clean substrate; all ink gone | Poor bonding at the surface | Interface between ink and substrate |
| Cohesive | Ink residue on both surfaces | Strong bond, weak ink structure | Internal structure of the ink |
| Substrate | Substrate fragments attached | Bond stronger than the material | The substrate itself |
How Surface Texture and Energy Affect Adhesion
Adhesion is influenced by two critical substrate properties: surface texture and surface energy.
Surface Roughness and Physical Anchoring
Let’s start with surface texture. Imagine surface roughness as a landscape of peaks and valleys. When ink seeps into these tiny irregularities, it forms a mechanical interlock, creating a strong physical anchor that enhances the bond. The rougher the surface, the greater the potential bonding area. However, this only works if the ink can flow into those valleys. If the ink is too thick (high viscosity) or the surface features are too deep, air can become trapped, reducing the contact area and weakening the bond.
Surface roughness is measured on two scales:
- Macroscale features: Larger than 10 µm, often caused by fiber dispersion or irregularities in the base paper.
- Microscale features: Smaller than 10 µm, influenced by pigment particles and binder types.
"If the adhesive can wet the entire surface, including all of the peaks and valleys, the contact area and bond strength will increase; if the adhesive cannot wet out the entire substrate, the contact area decreases and bond strength suffers."
– Michaeleen Pacholski, Ph.D., The Dow Chemical Co.
In non-impact printing methods like inkjet, substrate roughness plays a major role in the final image quality. For example, Atomic Force Microscopy revealed that glossy photo paper has an average roughness of 9.71 nm, while satin paper is significantly rougher at 312.1 nm – over 30 times rougher. Additionally, pigment-based inks (with particle sizes around 100 nm) can fill surface pores, improving gloss. Dye-based inks, made up of single molecules, often can’t fill these low spots as effectively.
Surface Energy and Ink Spreading
Surface energy determines how well ink spreads over a substrate at a molecular level. For ink to spread spontaneously, the substrate’s surface energy must be higher than the ink’s surface tension. High-energy substrates encourage wetting, while low-energy materials often need treatments to improve ink adhesion. For instance, standard topcoats for label films typically have surface energies between 38 and 45 mN/m. Materials like metal and glass naturally promote wetting due to their high surface energy, whereas low-energy plastics like polyethylene and polypropylene require additional treatment to achieve better ink spread.
Surface energy isn’t just about its total value – it also depends on its composition. The balance of polar and dispersive forces in a substrate can predict how well adhesion will perform. Surface analysis usually focuses on the top 10 nm of the material, where these molecular interactions occur. A contact angle below 60° between the liquid and substrate generally indicates good wetting.
One challenge with very high surface energy materials is their tendency to attract low-energy contaminants like oils or surfactants from the environment. These contaminants can lower the surface energy and reduce adhesion. Even stainless steel, with surface energies ranging from 34 to over 250 mN/m, can experience reduced adhesion over time due to surface oxidation or airborne contamination.
Understanding these factors helps in choosing and treating substrates effectively for optimal adhesion.
sbb-itb-ce53437
Chemical Treatments to Improve Adhesion
When surface texture alone doesn’t solve adhesion challenges, chemical treatments can step in to improve ink bonding. These treatments alter the substrate’s surface by introducing polar chemical groups, making it more receptive to inks and coatings.
Plasma and Flame Treatments
Both plasma and flame treatments work by increasing surface energy, adding oxygen-containing chemical groups like hydroxyl, carboxyl, and carbonyl to the substrate. These polar groups enable stronger adhesive bonds.
Plasma treatment uses ionized gas to activate the surface. In February 2024, researchers from Masaryk University, in collaboration with Effetec s.r.o., demonstrated that a quick 1–5 second plasma treatment on PMMA substrates boosted peel force from about 0.15 N/mm to 0.34 N/mm. This method works particularly well for transparent materials like polycarbonate and PMMA, as it enhances adhesion without compromising clarity or causing visible defects. For tougher polymers like PEEK, atmospheric plasma treatment increased tensile shear strength from 7 MPa to 13 MPa.
Flame treatment achieves similar results through thermal oxidation. A 2015 study by Dow Chemical evaluated flame-treated HDPE bottles from Berlin Packaging and Inhance Products, showing an increase in surface oxygen content from 0.2% to nearly 10%. While flame treatment typically penetrates 5–10 nanometers deep, air plasma treatments can exceed that depth, reaching beyond 10 nanometers.
Both treatments are time-sensitive due to hydrophobic recovery, so printing should occur within hours of treatment.
| Treatment Type | Substrate Example | Adhesion Before | Adhesion After | Time Required |
|---|---|---|---|---|
| Plasma (HDCSBD) | PMMA | 0.15 N/mm | 0.34 N/mm | 1–5 seconds |
| Plasma (Argon) | PEEK | 7 MPa | 13 MPa | Not specified |
| Flame | HDPE | 0.2% oxygen | 10% oxygen | Not specified |
While chemical treatments modify the surface chemistry, combining them with mechanical treatments can further enhance adhesion.
Mechanical Treatments: Sandblasting and Other Methods
Mechanical treatments, like sandblasting, add surface texture by creating peaks and valleys that improve mechanical interlocking. This increased roughness complements chemical modifications, leading to significantly better adhesion.
For example, in a study on wood-polymer composites, mechanical abrasion alone provided limited improvement. However, when combined with corona discharge treatment (a plasma method), pull-off strength jumped from 0.2 MPa on untreated surfaces to 3.4 MPa – a 17-fold increase.
The downside of mechanical methods is the potential for material loss or surface damage. For delicate 3D-printed parts or precision components, plasma treatment offers a safer alternative, improving adhesion without the abrasion-related risks.
Applying Adhesion Science to Printing
Understanding adhesion science at the molecular level can make a noticeable difference in print quality. Factors like surface energy, chemical compatibility, and contamination control play a crucial role in determining the success of a print job – especially when dealing with tricky materials.
Selecting Substrates for Better Adhesion
To achieve good adhesion, it’s essential to match the substrate’s surface energy with the ink’s properties. When surface energy and tension don’t align, ink can bead up instead of spreading evenly. Ideally, the substrate’s surface energy should be higher than the ink’s surface tension to ensure proper wetting and adhesion.
Chemical compatibility also plays a big role. For example, when inks and substrates share similar chemical structures – like using acrylic adhesives on PMMA – van der Waals forces can create stronger bonds. Interestingly, the top 10 nanometers of a substrate’s surface are what really dictate molecular bonding.
However, contaminants such as silicone or surfactants can weaken these bonds. High-energy surfaces like metal and glass are particularly prone to contamination, while porous materials like recycled cardboard may fail because loose fibers reduce adhesion strength. In cases where the substrate’s natural properties aren’t up to the task, pretreatments can help bridge the gap and improve adhesion.
Using Pretreatments to Strengthen Print Adhesion
Pretreatments are often used to adjust substrate properties to meet the needs of specific inks. For example, solvent-based inks typically require substrates with surface energies around 36–38 dynes/cm, water-based inks need 45–48 dynes/cm, and UV inks perform best on surfaces with 60+ dynes/cm. To stabilize their properties, substrates should be conditioned in the printing environment for at least 24 hours before use.
In January 2018, a study published in Applied Adhesion Science by researchers from the University of the Philippines highlighted how ink formulation impacts adhesion on polyethylene (PE) films. They developed a water-based ink that achieved 100% adhesion on untreated PE by incorporating specific defoamers to eliminate microfoam defects. While surfactants enhanced gloss, the study found that excessive additives could migrate to the ink–substrate interface, reducing adhesion overall.
To avoid costly mistakes, verifying surface energy is a must. Tools like Dyne pens or contact angle measurement systems can confirm whether a substrate meets the required energy levels. This is especially important since material properties can vary due to factors like processing aids or storage conditions.
Substrate Considerations for Specialized Printing
Specialized printing projects, such as large-format graphics or printed electronics, come with their own challenges. For rough materials like corrugated cardboard, surface roughness can affect how ink fills microscopic valleys. In these cases, the ink needs to have low enough viscosity to penetrate surface voids rather than bridging over them.
For printed electronics, substrate properties are critical to the performance of the final device. In December 2024, researchers from Boise State University and Idaho National Laboratory, including Timothy L. Phero and James A. Smith, used laser-induced spallation to study the adhesion of silver films printed on aluminum alloy substrates. Their findings showed that sintering conditions significantly influence adhesion strength and the reliability of additively manufactured electronic devices.
Both surface and bulk properties matter when it comes to adhesion. While surface chemistry and roughness affect initial bonding, bulk properties like flexibility and modulus determine whether the bond can handle mechanical stress or environmental changes over time. For example, increasing a substrate’s surface energy from 20.5 to 53.6 mN/m can improve tack by 300–500%. Additionally, for acrylic pressure-sensitive adhesives, adhesion energy can increase by more than 300% after 24 hours of contact with stainless steel due to molecular rearrangement. These examples highlight why careful substrate preparation is key to achieving durable, high-quality prints.
At Miro Printing & Graphics Inc. (bergencountyprinters.com), we integrate these principles into our printing processes to deliver outstanding results for every project.
Conclusion: Understanding Substrate Properties and Adhesion
When it comes to successful printing, everything boils down to what happens within the top 10 nanometers of a substrate’s surface. Dr. Michaeleen Pacholski from The Dow Chemical Co. puts it perfectly:
"For PSAs, the intimate contact of the adhesive molecules with the molecules at the surface of the substrate can strongly affect overall performance".
This highlights why surface chemistry and roughness are far more critical to adhesion than the bulk properties of the substrate.
Take surface energy, for instance. For ink to properly wet a surface, the substrate’s surface energy must be higher than the ink’s surface tension. A clear example is water-based inks, which have a surface tension of about 73 mN/m. These inks struggle to bond with polyethylene films, which typically have a surface energy of just 28–32 mN/m. Boosting the surface energy significantly improves tack, making proper substrate preparation a must. However, even the best preparation can be undone by minor contaminants.
Even tiny traces of silicone or surfactants can disrupt molecular adhesion. Advanced surface analysis tools like X-ray photoelectron spectroscopy (XPS), which examines the top 10 nanometers, and secondary ion mass spectrometry (SIMS), which focuses on the top 2 nanometers, reveal just how much these ultra-thin layers influence adhesion. Understanding and controlling these factors is key to achieving top-tier print quality.
These findings tie directly into earlier discussions on substrate selection and pretreatment. Matching the ink chemistry to the substrate, managing surface roughness, using the right pretreatments, and verifying surface energy before production are all crucial steps. When done right, these measures ensure prints stick properly, colors spread evenly, and the final products meet high-quality standards.
FAQs
How do plasma and flame treatments improve substrate adhesion?
Plasma and flame treatments improve how well surfaces bond by cleaning off contaminants, subtly etching the surface, and adding polar functional groups. These modifications boost the surface’s free energy and wettability, helping inks and adhesives spread more evenly and stick more securely.
The result? A smoother application and stronger adhesion – key factors for high-quality printing and long-lasting performance across a range of uses.
How does surface energy affect ink adhesion to different materials?
Surface energy is a key factor in how effectively ink sticks to a material. For ink to adhere properly, the material’s surface energy must be higher than that of the ink. This ensures the ink spreads evenly across the surface, forming a strong and stable bond.
When materials have low surface energy, the ink may not spread well, resulting in poor adhesion and potential printing flaws. To achieve top-notch printing results, it’s essential to select and prepare substrates with the right surface energy.
Why is it important to understand substrate roughness for improving print quality?
Understanding substrate roughness plays a key role in how ink behaves on a surface. The texture of the substrate influences how ink is absorbed and spreads, which in turn affects color consistency, image clarity, and the final look of the print, including its gloss and durability.
When you fine-tune substrate roughness, you can produce sharper, more polished results. This ensures the printed product not only looks great but also stands the test of time in terms of quality and appearance.
Related Blog Posts
- Troubleshooting Surface Coating Defects in Printing
- Substrate Selection for Digital Printing
- Common Substrate Defects in Printing
- Surface Treatments for Better Ink Adhesion
https://app.seobotai.com/banner/banner.js?id=696da17e0a871bef4ad3b4f4